Disc brake pad service is a pretty standard service that many shade tree mechanics can accomplish with basic hand tools and a basic understanding of how disc brakes work. Occasionally, though, someone may bite off more than they can chew or run into a snag where they get lost. If all goes well, a simple driveway brake job for the weekend mechanic consists of removing the wheel and tire, pulling a couple bolts off the caliper bracket, compressing the caliper piston, slapping on a new set of pads, and reinstalling the caliper, wheel, hubcap, etc. Test drive (perhaps for ice cream?) and you’re done!
I don’t necessarily condone the above procedure because it leaves out a few critical steps for setting up a quality brake job. Check out this article for a full walkthrough of typical front disc brake service. I’ve seen many people struggle with rear brake calipers that won’t compress with the typical C clamp or typical caliper piston presses.
On some vehicles, notably the 2001 Buick we’re working on today, the rear brake caliper also applies the parking brake. This is also common on Ford vehicles such as the Ford Five Hundred, Freestyle, and Mustang. Because the parking/emergency brake is applied by the brake pads on the rotor, the piston cannot be pushed straight back in; it must be twisted while force is applied with a special tool.

You can usually tell if your caliper applies the service brakes (when you mash the brake pedal) as well as the parking/emergency brake if you see two separate cables or hoses attached to the caliper. The hydraulic line (blue arrow) and the brake cable (red arrow) are clearly seen in this pic.
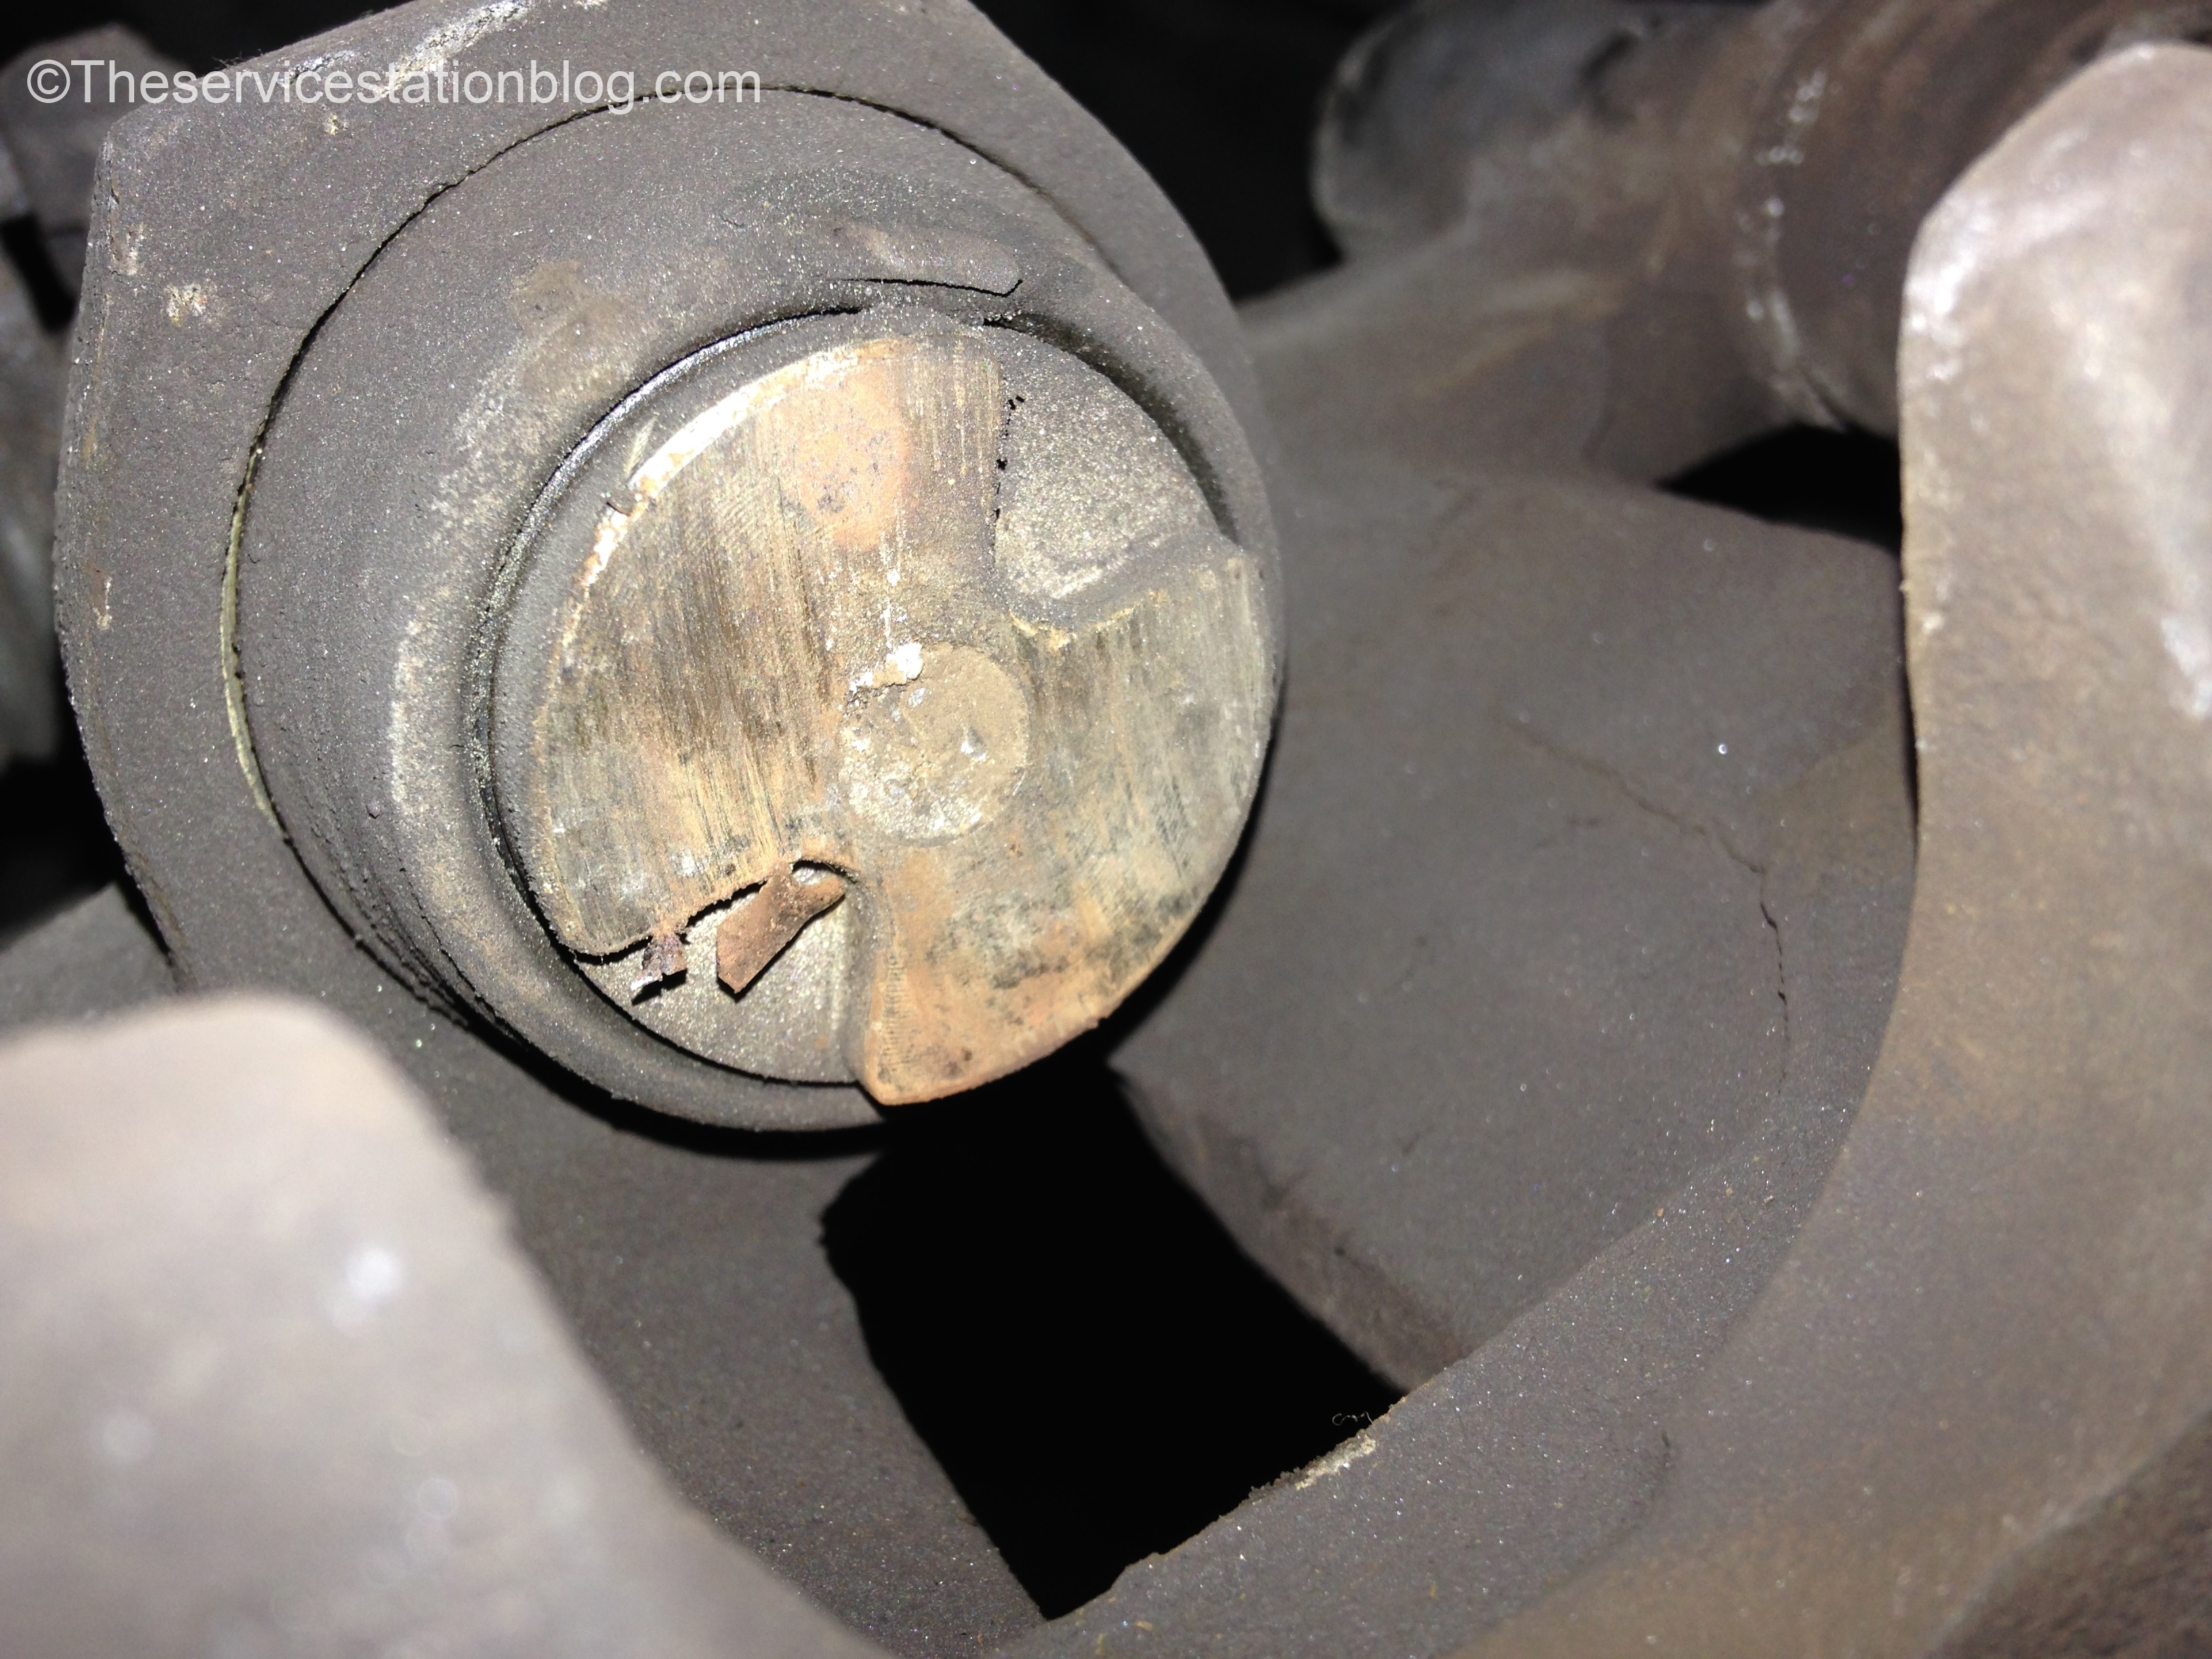 The piston in the caliper has two notches to facilitate twisting the piston while pressing it back in.

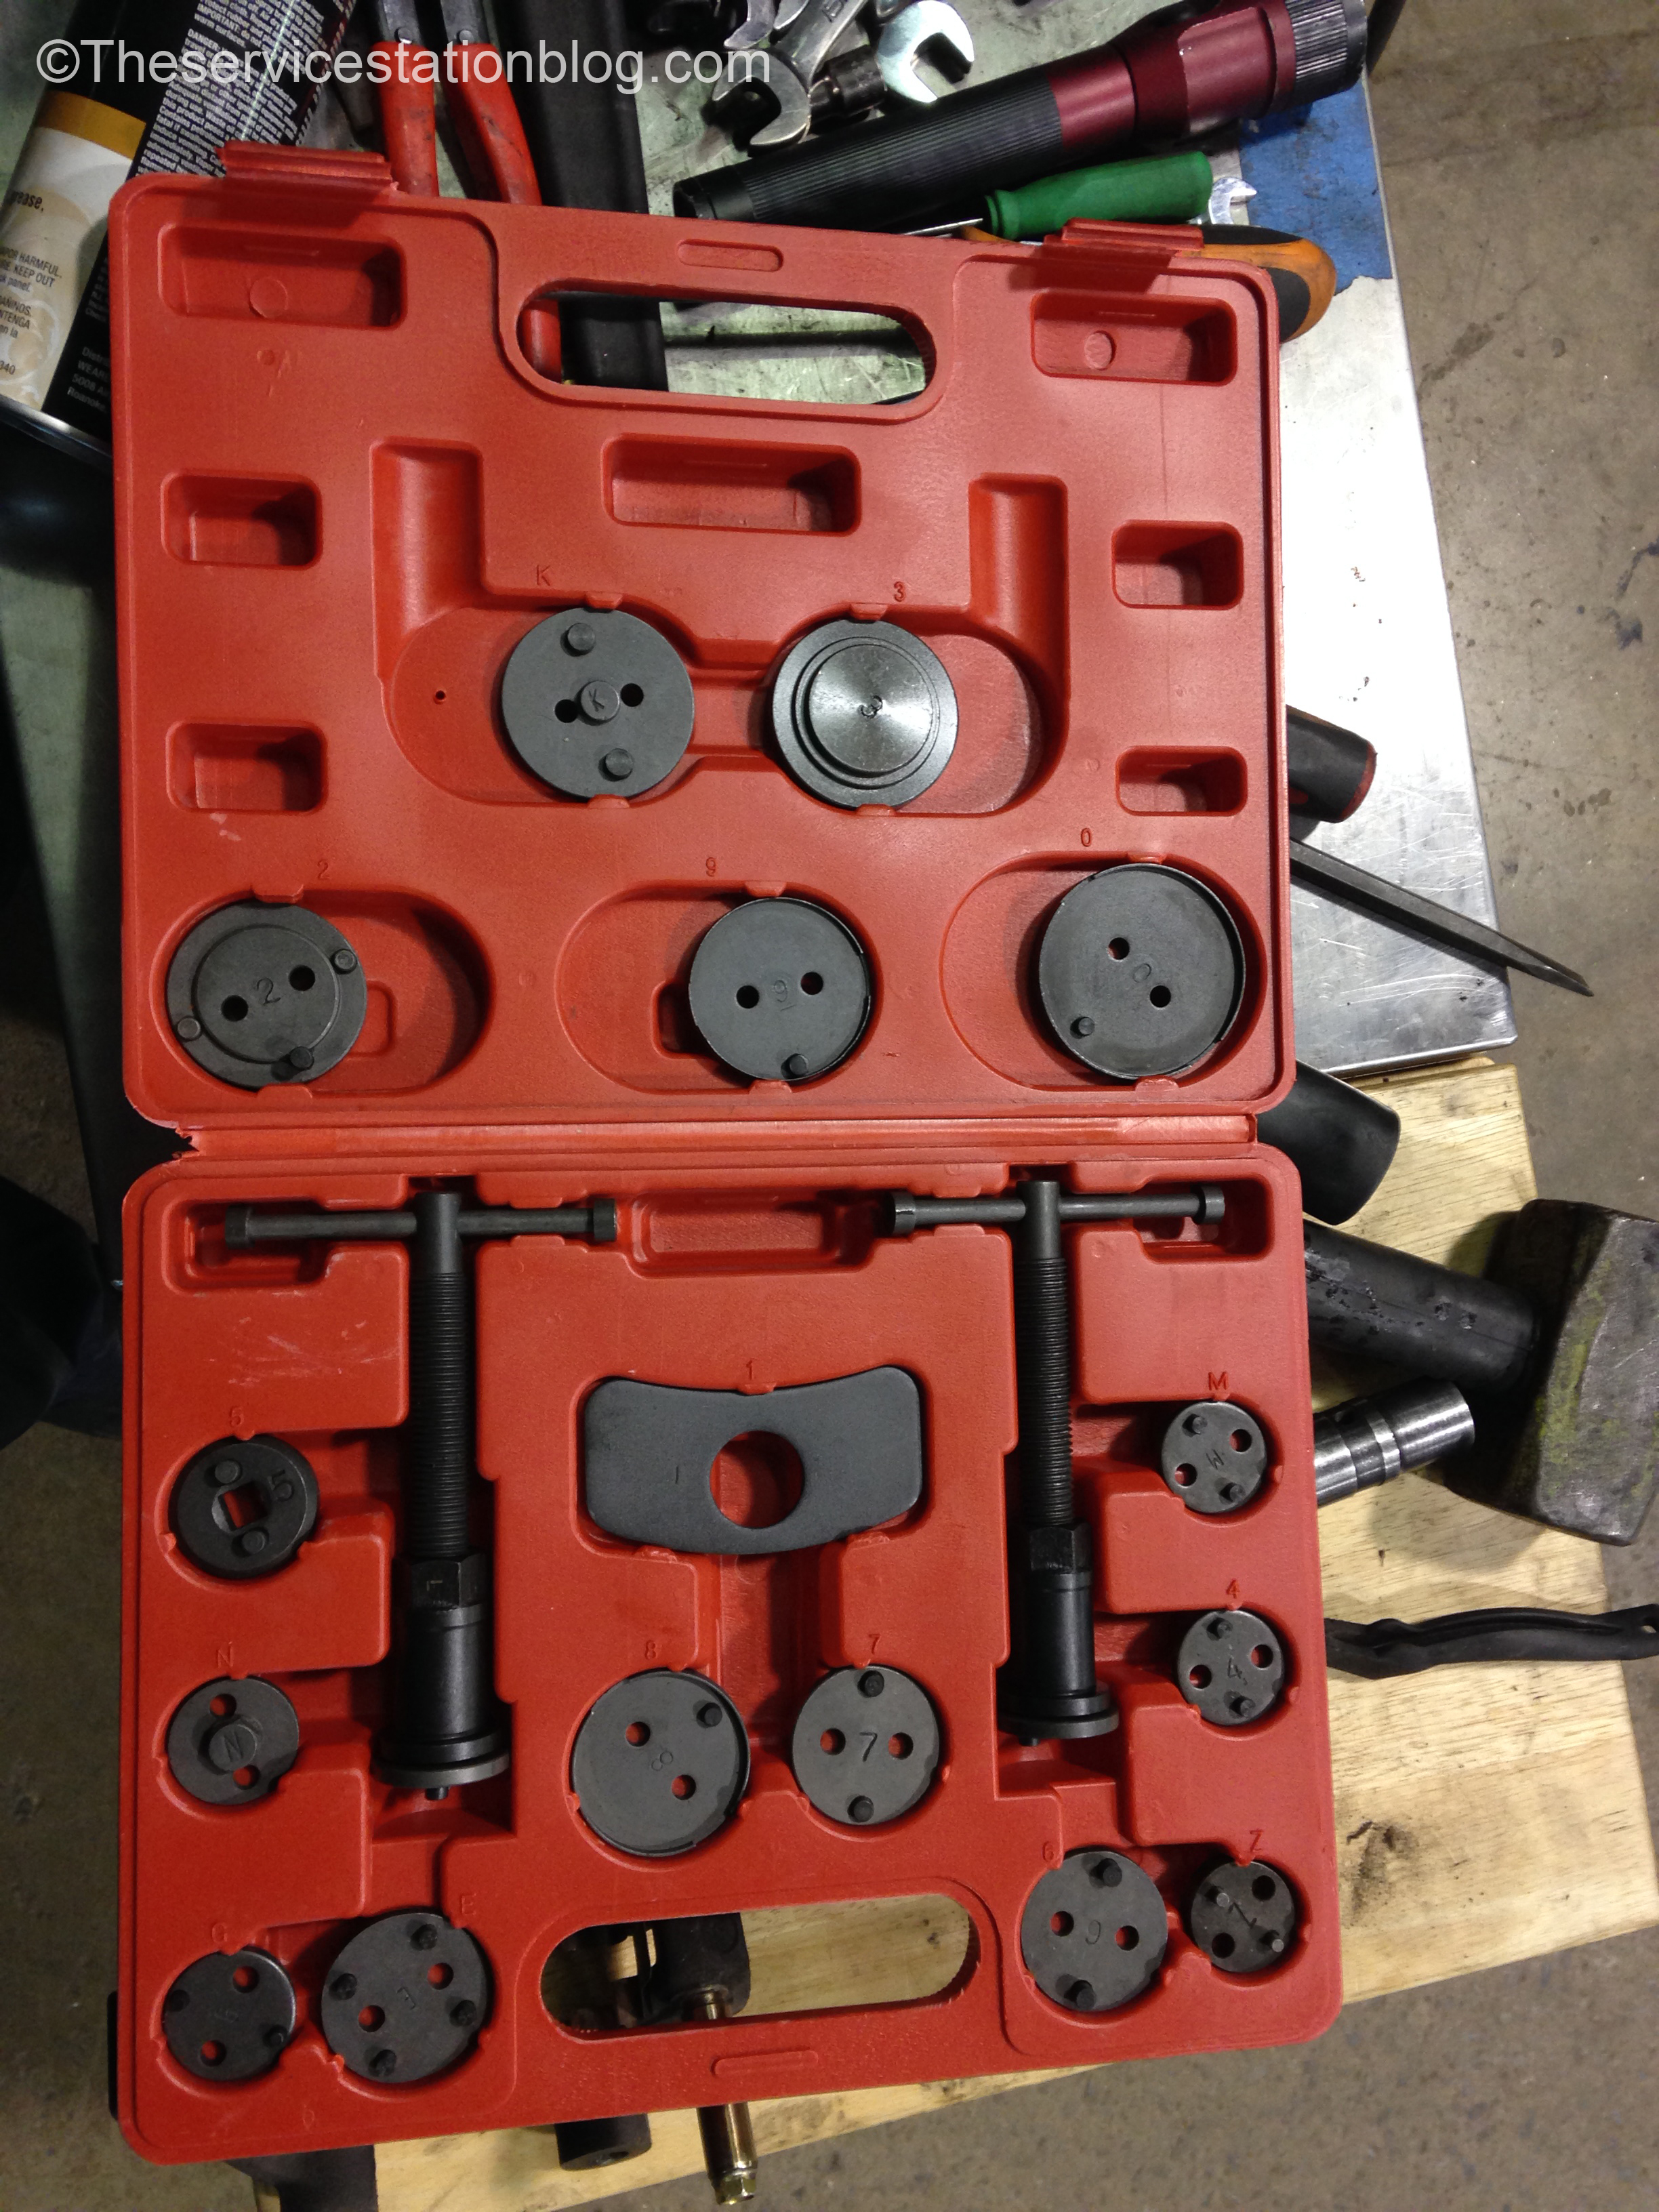
This special tool PN 78618 from Astro Pneumatic Tool includes a bunch of adapters making it easy to service most any vehicle. I used to have this set from Snap On PN YA8610B, but I let a co worker borrow it and never got it back (see rule #1 in this post). One cool thing about the AP set is includes both left hand and right hand screws. I’ve mostly used the right hand thread as I did on this vehicle, but some Fords have left hand thread pistons, and I’m sure some other vehicles do as well.
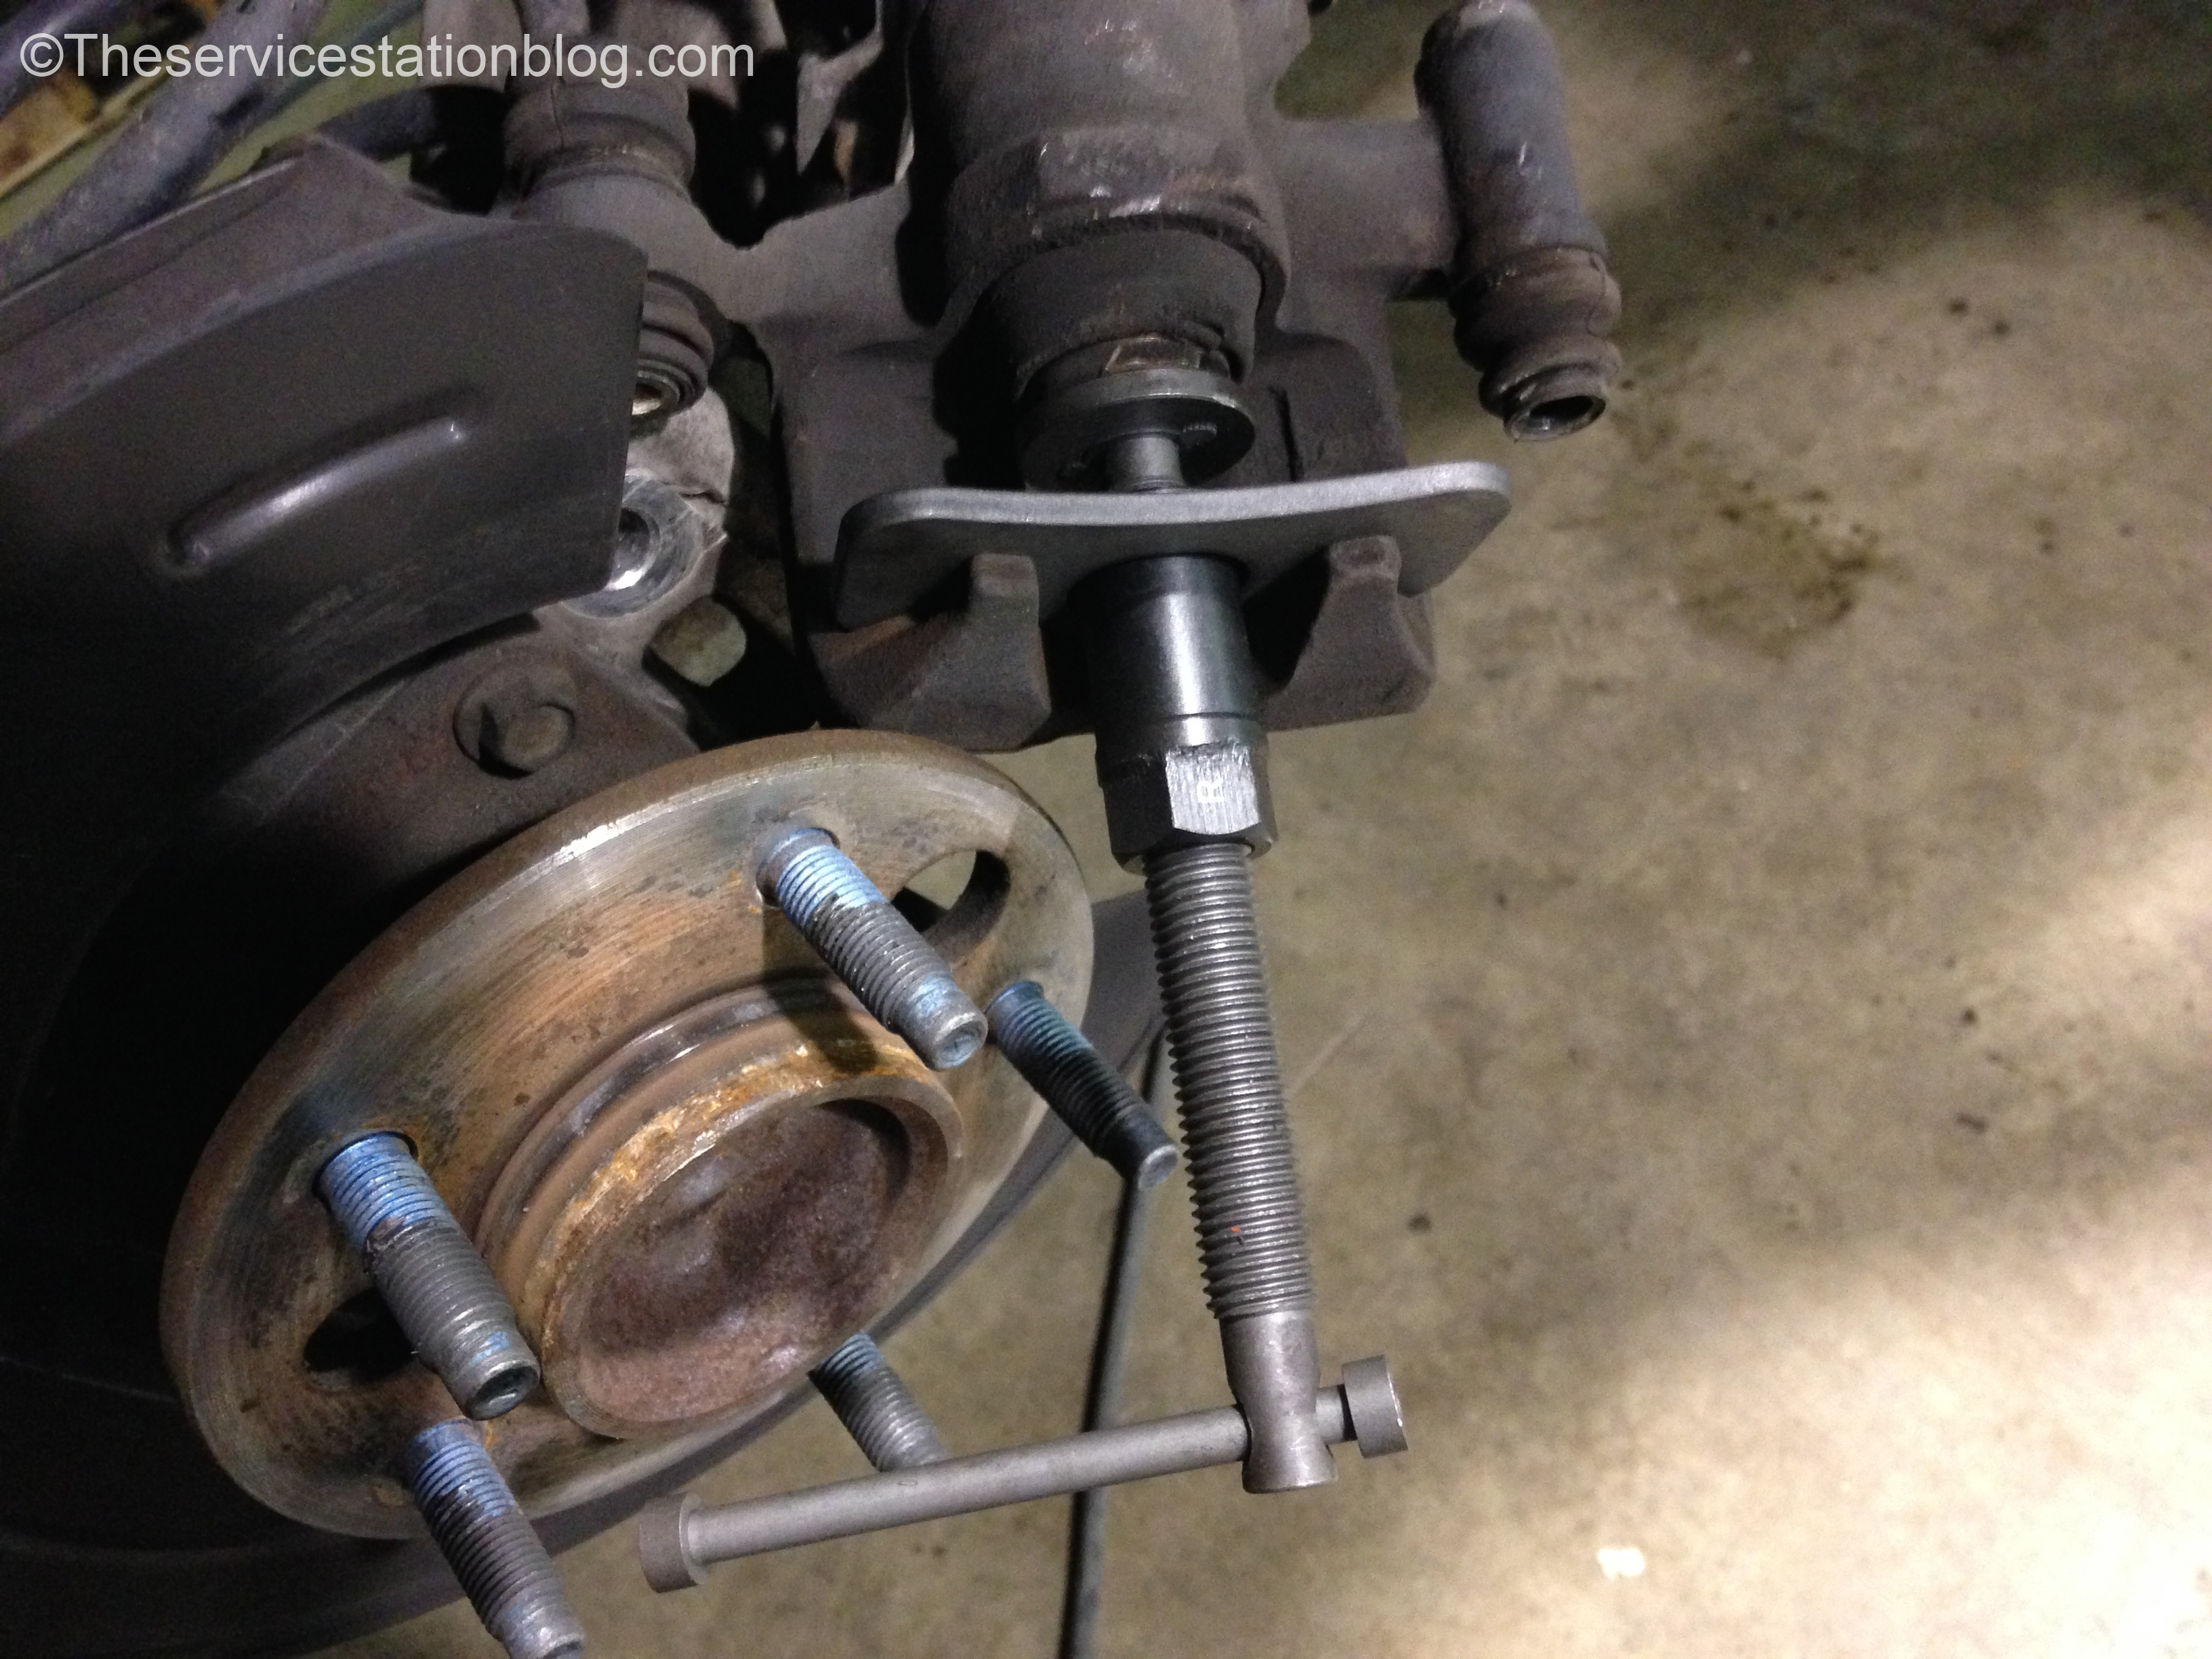
After selecting the proper adaptor, engage the two pins on the tool with the notches in the piston and begin twisting in a clockwise direction (when using the right hand thread tool).

Twist a few more times, making sure to keep the backing plate (arrow) firmly planted against the outside of the caliper and….voila! A perfectly compressed caliper piston.

Often, with these special calipers, you will notice a small pin on the back of the brake pad.
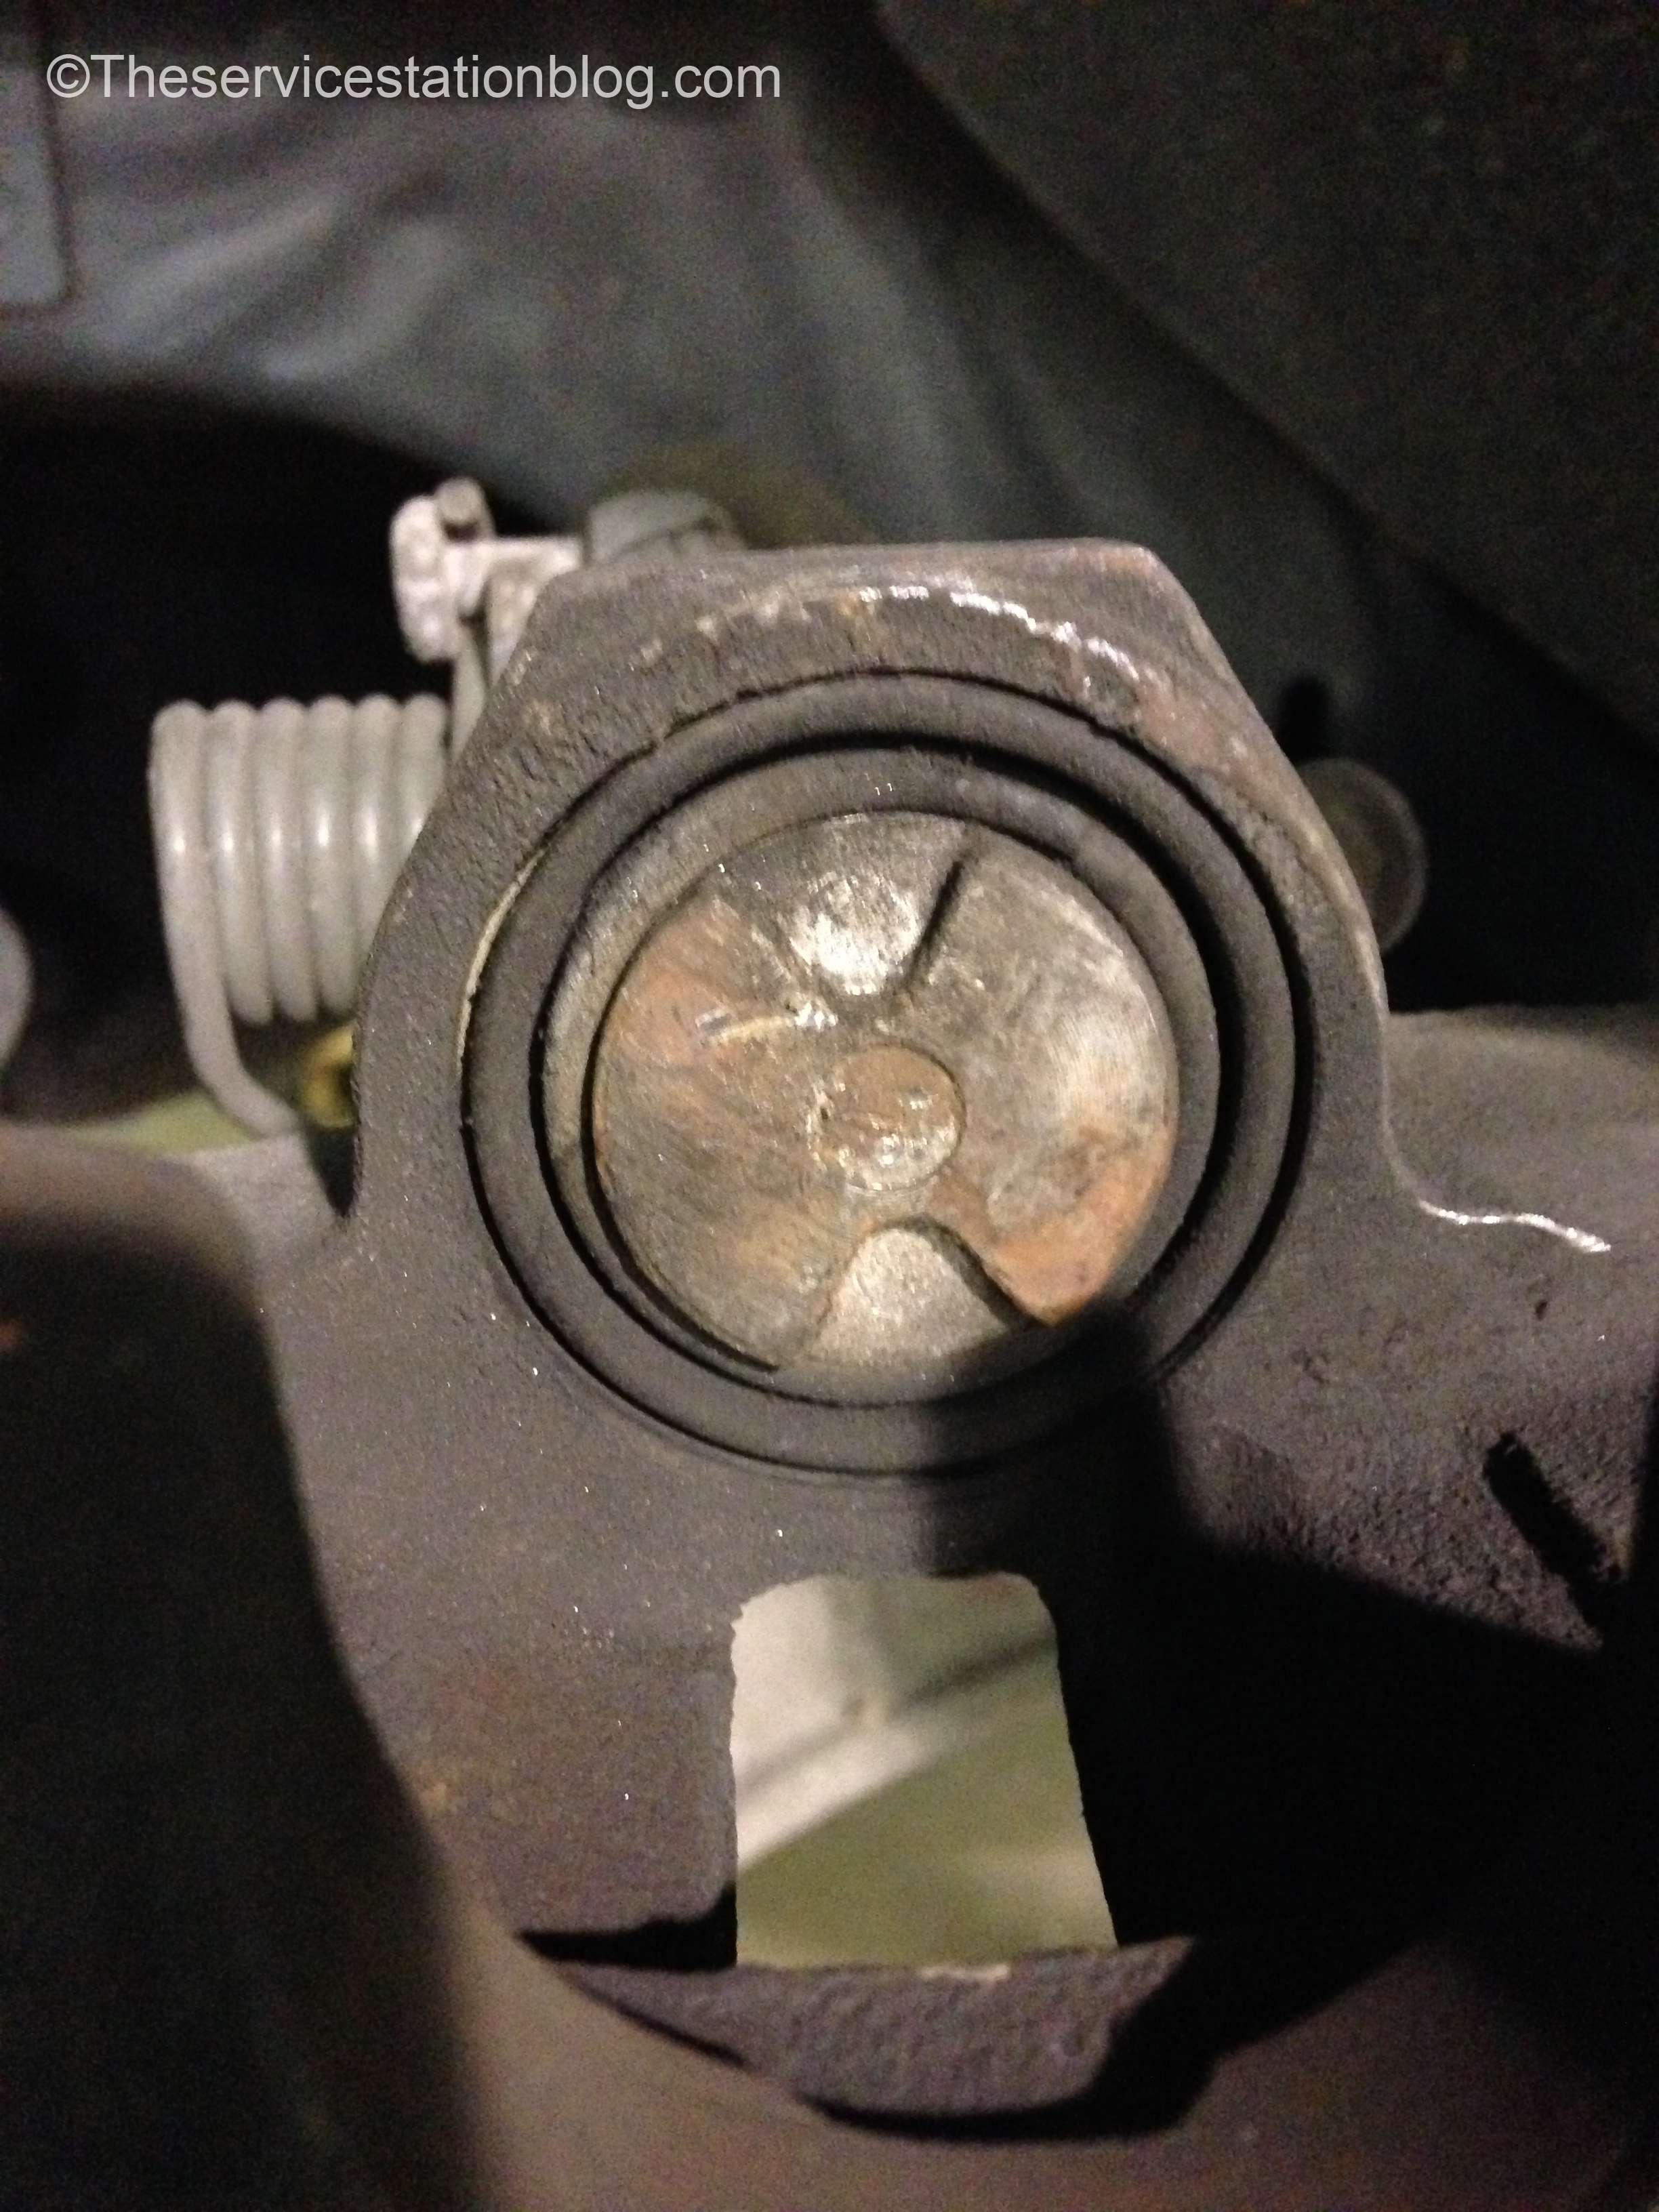
Make sure you position the piston with your tool before you remove it so the pin on the brake pad will slide right into the notch on the caliper piston.
From here, assembly is like any other brake job. Check back soon for a walkthrough (possibly even a video!) of a basic brake job.
Photog Note: I used my iPhone 5C for all the pics in this post

Hello, what if i use pads that backing plate without the small pin? Thanks!
LikeLike