If you’re up to replacing these riveted ball joints I’ll assume you feel comfortable removing the components necessary to get to the ball joints. This post will cover my preferred method of replacing riveted ball joints specifically. Let’s get dirty!
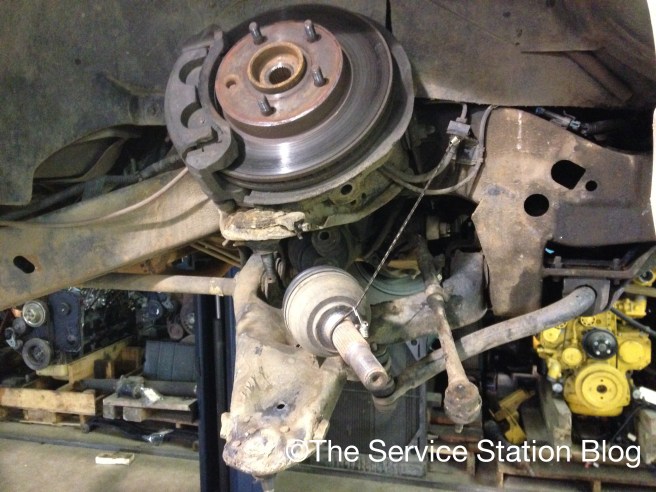 First, you’ll want to get the control arms free from the steering knuckle. On this 2001 Chevy S10 4×4 I was able to leave the brakes in tact and remove just the ball joints using a pickle fork; unfortunately you won’t be so lucky on every vehicle out there. By the way, I haven’t had very good luck with the pickle fork kits with interchangeable heads, so I would recommend getting a dedicated set. They also make them for an air chisel. It’s a good idea to secure the brake caliper with a ratchet strap, bungee cord, or my new favorite, a Ratchet Rope so the hose won’t be damaged if it falls during your copious beating, banging, drilling, etc.
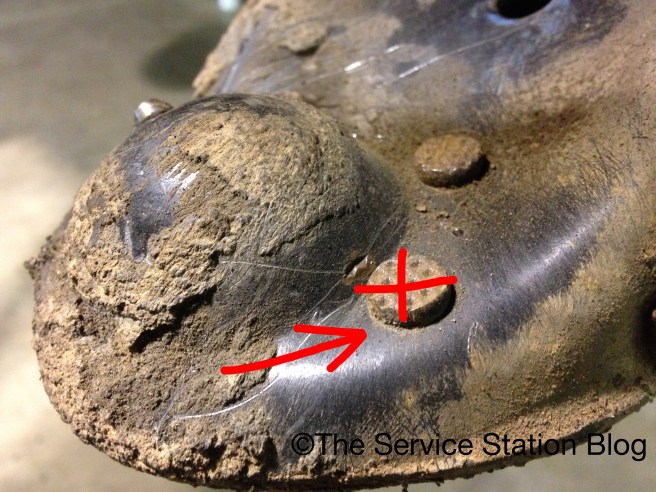 Once you get to this point you have some options. You can use an air chisel (or a standard old chisel if you’re a glutton for punishment or Paul Bunyan with a hammer) to cut the head of the rivets off in the direction of the red arrow, grind off the rivet heads, or drill them out. If you choose to cut the rivets off, I recommend using a cut off wheel or similar tool to cut an X in the rivet head (shown) to make it a little easier. I’ll do an article on that method, too, because that’s how I replaced Henry’s ball joints.
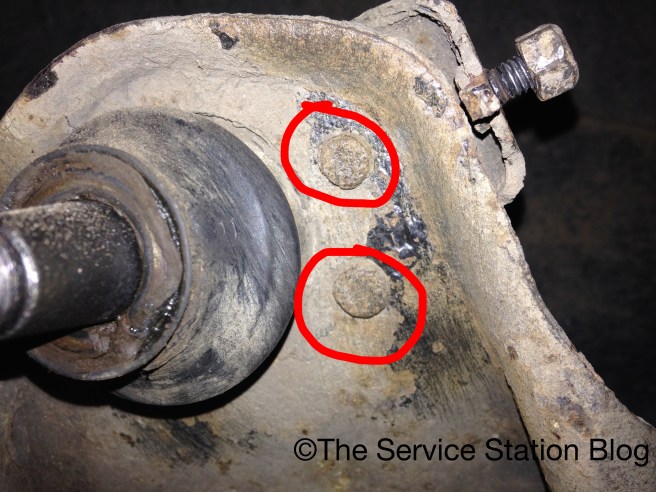 These guys are the pesky rivets that we’re drilling out. I suppose it was a bit cheaper and/or easier for GM to use rivets instead of bolts for these, but it sure would have been nice to take a few bolts loose rather than deal with these things. You can imagine that after 15-20 years or more the rivets are pretty stuck in there.


I used a scrap 2X4 to hold the upper control arm up where I could get to it and commenced to drilling! 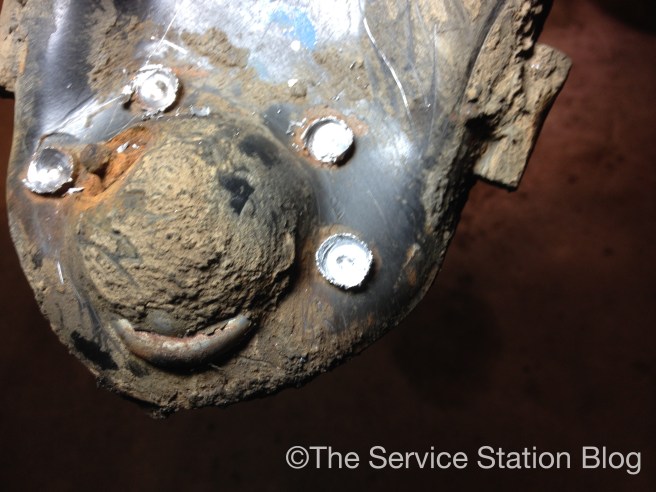
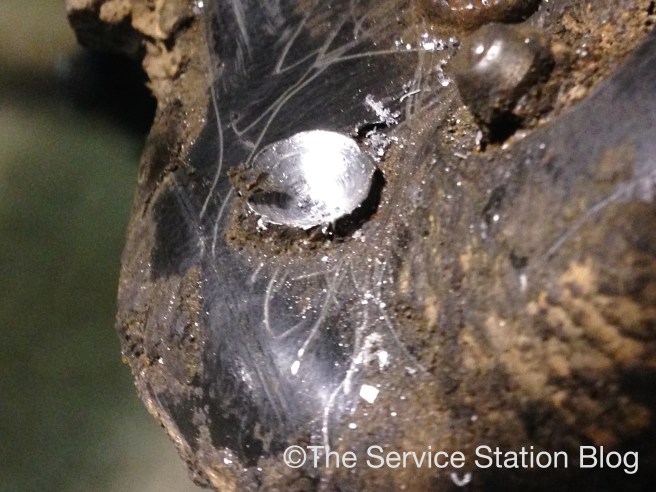 These are from the lower control arm, but I wanted to show you about how deep to drill. You don’t want to go too far or the control arm will be damaged. Go just deep enough to weaken the head of the rivet enough to punch it out with an air chisel or a regular punch.
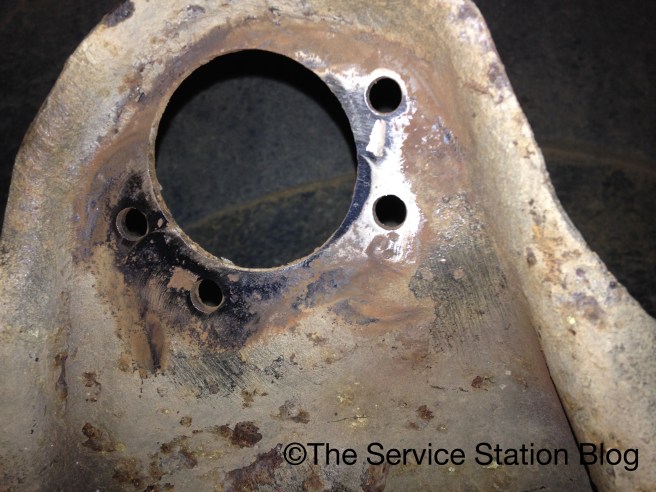 Once you get the ball joints out, be sure to clean the mating surface so the ball joint seats completely and fits tightly against the control arm. I used a 2″ die grinder with a sanding disc.
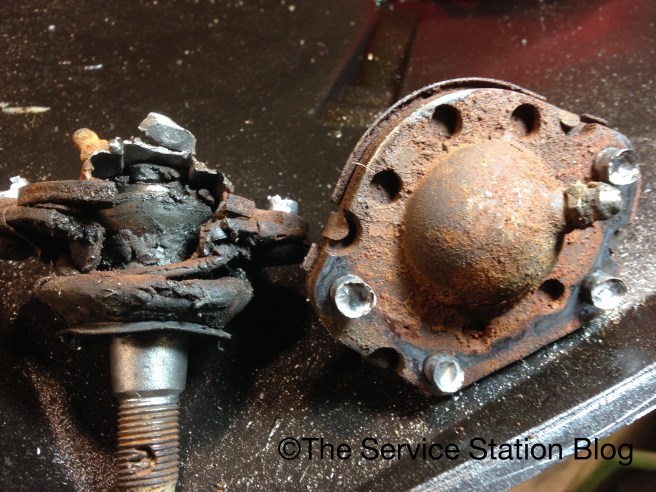 Here’s what the lower ball joints looked like once they were removed. The left was completely destroyed! To see how these destroyed ball joints damaged the control arm, check out this article I wrote a while back.
 Bolt the new ball joint in with the included hardware, torque to specs (you do have a torque wrench don’t you?), and reassemble the rest. Now it’s off for a test drive! Don’t forget to take your vehicle to a shop for an alignment after any major steering or suspension work like this. Even a few tenths of a degree can cause tire wear and handling problems.
Remember, all the links in the article above take you to a reputable online retailer so you can make sure you have all the tools to do the job right the first time.
Check back Tuesday for another Tech Tip Tuesday! Happy wrenching!
