These are a fairly common failure item on these trucks, especially if they see water, salt, mud, or heavy use regularly. Another reason these seem to fail more often than axle joints on vehicles with manual hubs is that the u-joints are constantly turning, even when not in 4WD.
You don’t have to have a u-joint press like I used on this job, but it sure beats the old hammer and socket method.
Special tools:
- U-joint press
- 1 11/16″ axle nut socket

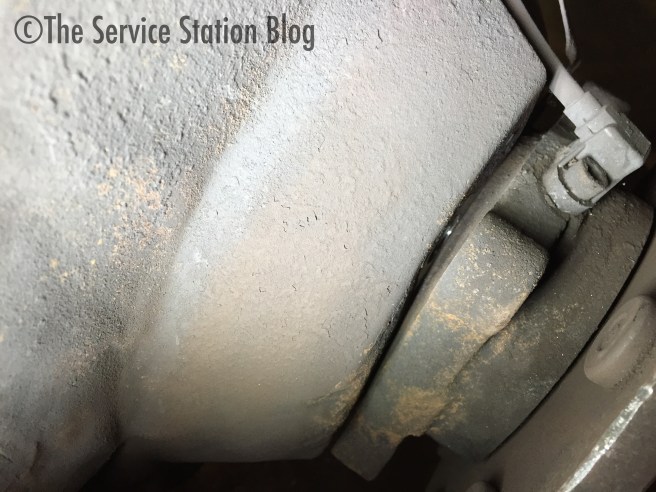
First, get the brakes off and out of the way and remove the cotter key and axle shaft nut. Next you’ll remove the wheel bearing.
This is where it can get difficult. I’ve literally completely destroyed these unit bearings because of the amount of heat and sheer beating it took to free them from their rusty prison! When you take on a job like this, it’s a good idea to be ready to spend the cash on some new bearings. I’ve had them come out fairly easily before and there are a few special tools to help with this, but you should still be ready for new bearings.

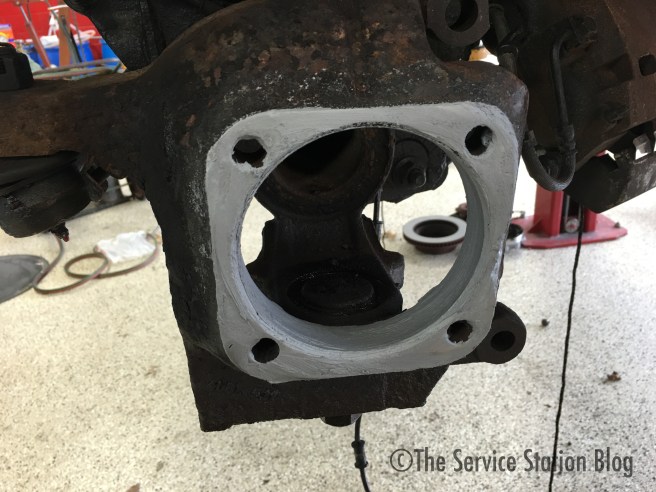
Remove the four bolts on the back side of the bearing (18mm) and give the bearing a few taps with a good size hammer. You can use a special tool with an air hammer to coerce the bearing out.

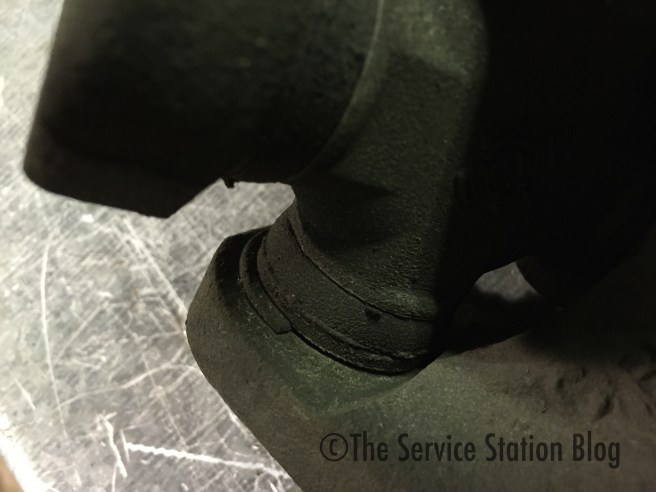
Once you get a small gap like this, you’re usually home free. You can drive a good sized chisel in the gap to continue forcing the bearing out.


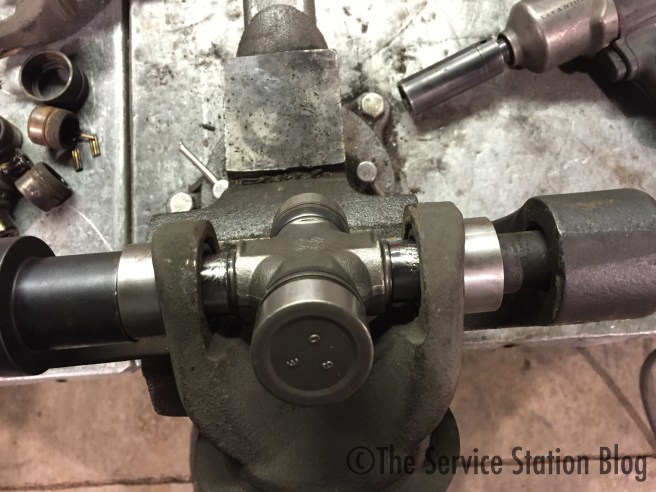
With the wheel bearing out of the way you can ease the axle shaft out of the differential and take it over to the work bench and remove the u-joints. Make sure to mark the orientation of the shafts before you take the u-joint out. Vibration issues can arise if the axle shafts aren’t installed correctly.

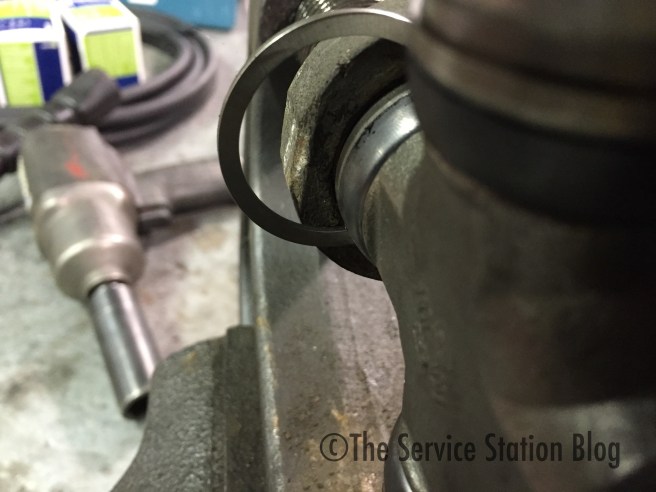
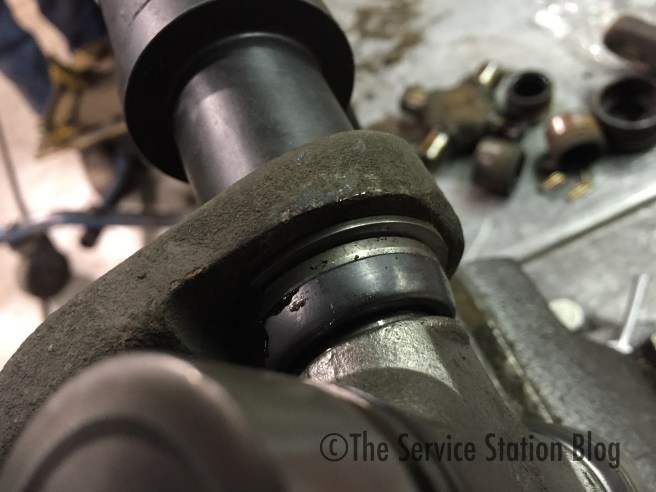
Begin by taking a screw driver and removing these little clips. They’re on the inside of each u-joint cup. If they put up a fight because of rust and corrosion, feel free to liberate them with a punch or chisel. It can be a little therapeutic, if I’m honest.

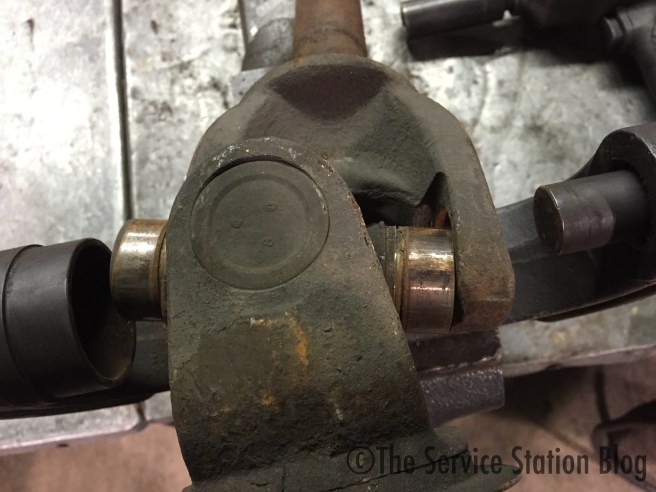
The press I’m using mounts in a vise to make things a little easier. Use the appropriate adapters and drive the first cup out. Take some pliers or Vise-Grips and remove the cup on the left side by twisting and pulling. Sometimes you may have to use some heat to break up the rust.
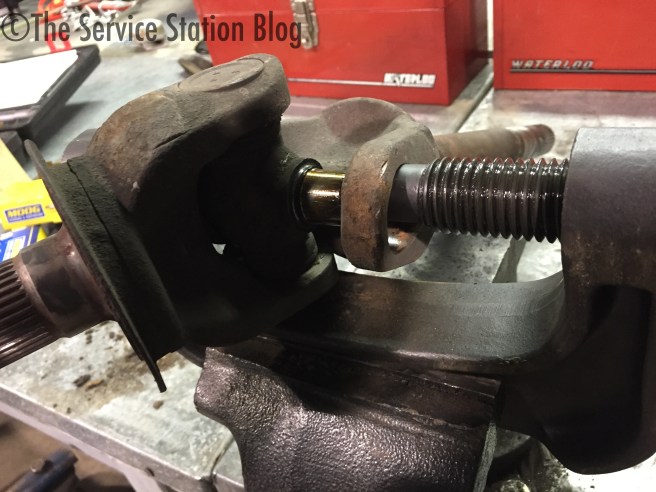

Flip the shaft over and drive the u-joint back through the other side. Since I took these pictures, I’ve found it helpful to spray penetrating oil liberally on the cups to help them slid out a little more easily.
With the old u-joint out, clean up the holes for the u-joint cups in the axle shafts with a little sandpaper or emery cloth, then you can install the new u-joint. It’s very important that none of the little needle bearings in the cup (you can just barely see them on the table to the left of the vise) fall off of the sides of the cup into the bottom. If they fall, the bottom of the cup will break and the u-joint will be trashed. Ask me how I know… You can pack a little extra grease in the cups to help the bearings stay in place.
Drive the new cups together and install a new clip on one side. Flip the shaft over and install the other clip. The new u-joint will probable be a little stiff to move, but if it’s so tight you can’t move it by hand at all, you should try to free it up a little bit.
Same song, different verse on the other axle shaft.
One last tip: before you put the wheel bearing back in, be sure to coat the mating surface liberally with anti-seize to make the bearing a little easier to remove should you ever have to travel down this path again (hopefully not!). This is a different truck and because it was so rusty, I had to heat the spindle cherry red and beat the bearings apart with a 10lb. sledge hammer for a good hour and a half before they came free!
U-joint replacement can be a little tricky if you’re not used to it, but it’s doable with the right equipment and a little know-how. I’ll work on getting a video up before too long so this whole process makes a little more sense. Henry could use some new u-joints anyway! Happy wrenching!
Post contains affiliate links
