While the Ford Focus in general could generally be thought of as a car without a lot of fans, this one in particular had none at all! At least not on low speed. Or when the A/C was off. And unless the engine was almost overheating.
Here we have a 2001 Ford Focus ZX3 that has had a few different cooling system problems and leaks, as many 2.0 “Zetec” engines are prone to have. The symptoms were as stated above. The customer said that the car would run fine as long as she was driving at a normal highway speed. However, if she stopped at a red light, in traffic, or at a drive thru the temp gauge would climb to just below the “red zone” and then the fans would kick on high speed and sound like the car was ready to take flight. If she had the A/C on, though, it seemed fine and did not overheat; the fans would still run on high speed only. Since our customer preferred to drive with the windows down and A/C off, we had to figure out why the fans weren’t coming on until the engine was almost overheating. A quick trip to Identifix led me to suspect the engine cooling fan resistor.
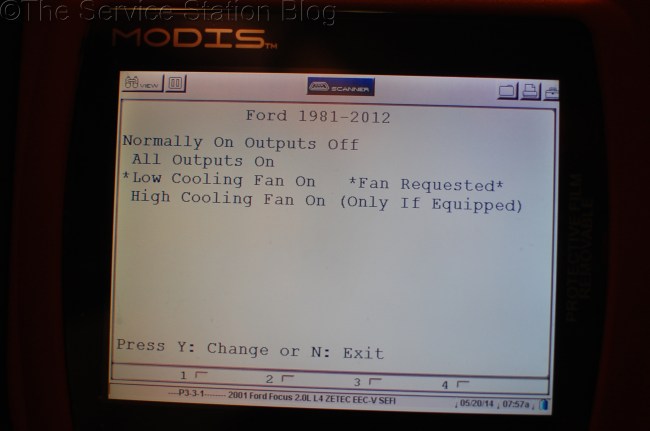
I began my diagnosis with my Snap On Modis (as I usually do) to see if the ECM (Engine Control Module) was requesting a low speed fan output and it was. Just to double check, I went to the bi-directional output test section and commanded the fans on high and low speed. This confirmed that both fans operated flawlessly on high speed but were unresponsive to the low speed test.

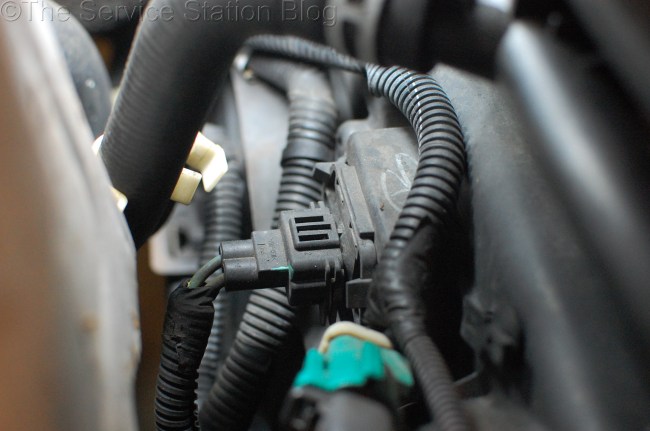
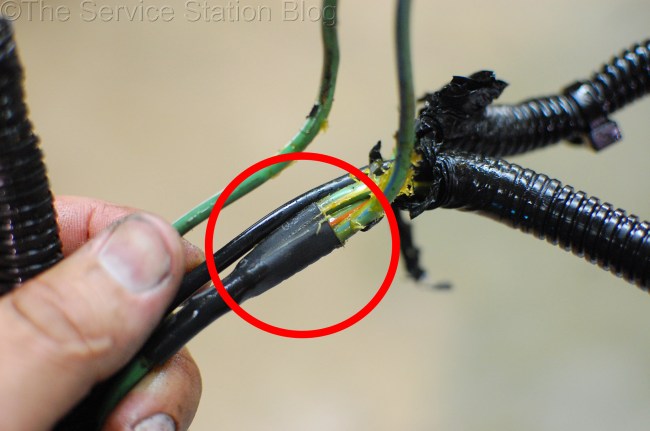
I located the cooling fan resistor (red circle) in between the two radiator fans and checked for voltage per the Identifix test procedures and found proper voltage. This tells me that all my fuses, relays, wiring, etc. up to this point are good, further confirming my suspicion of a faulty cooling fan resistor.
The resistor has a small wire clip (not shown) that needs to be removed with a small pick or screwdriver, then you can unplug it. Remember, never pull on the wires to unplug something. Just like mommy always told you to do with her best Rainbow vacuum, grasp the plug firmly and pull straight out.
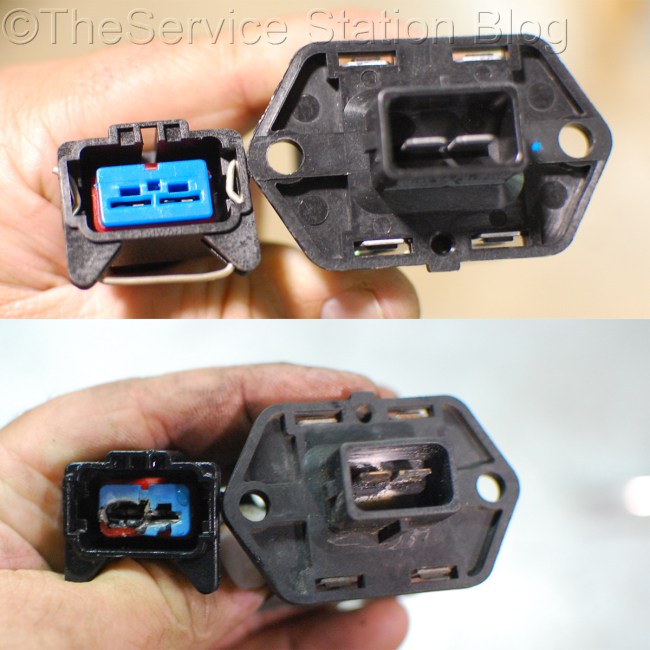
When I unplugged and removed the resistor which was held in by one small plastic clip on either side, I found this nice little surprise. I don’t think the resistor itself was actually bad, but the plug was the culprit. It took a little bit of Internet research, but I finally found a Doorman Resistor Kit PN 902-219 (link to Amazon) which was available through my local Advance Auto store. Curiously, it wasn’t listed in their catalog for this vehicle, but the part number worked and they even had one on the shelf! It pays to do a little research yourself and not depend on your parts person or catalogs exclusively.

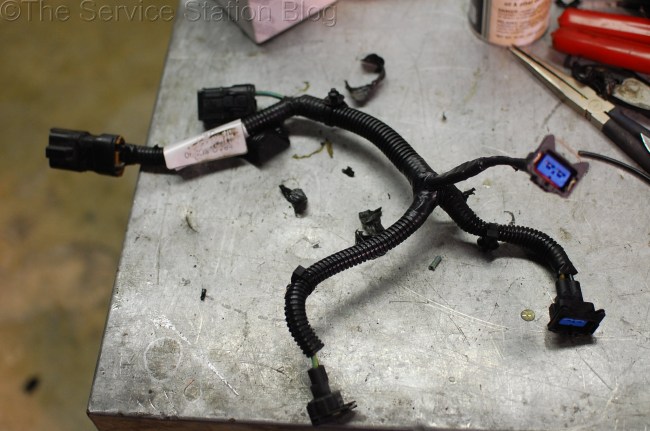
Initially, I was going to perform the repair underhood, but there was just not enough room for my gorilla hands to cut, strip, crimp, and heat shrink efficiently. I traced the wires and found that it was pretty easy to remove the whole harness from the fan shroud and lay it out on the bench.
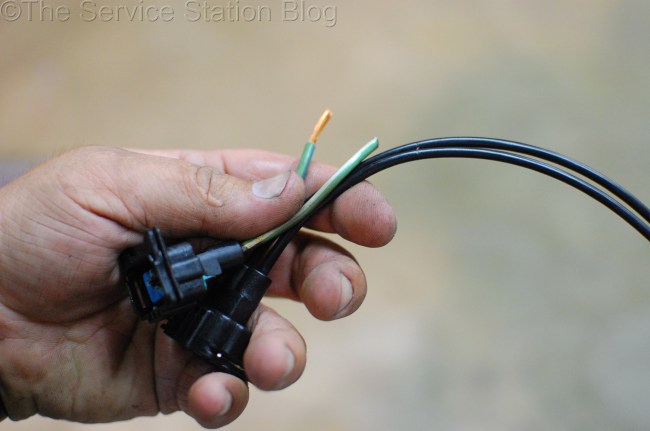
I began the repair by removing the protective sheathing and checking out the harness.
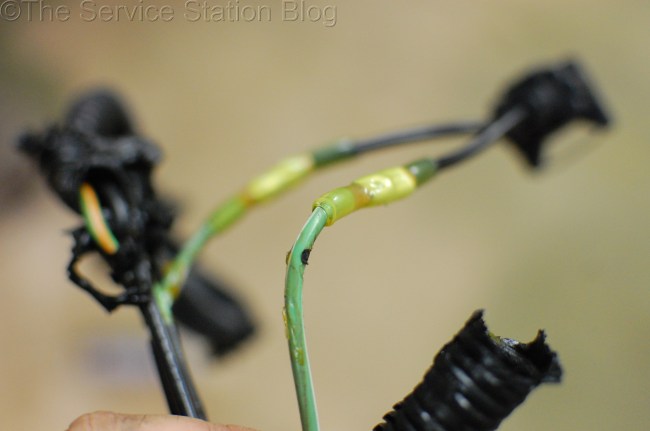
Usually, I like to use as much new wire as possible, but there was a factory splice (shown above) so I was limited in how much new wire I could use. Theoretically I could use all of the new wire, but that would add a lot of extra length to the harness and just make it more difficult to keep out of the way of the fans.
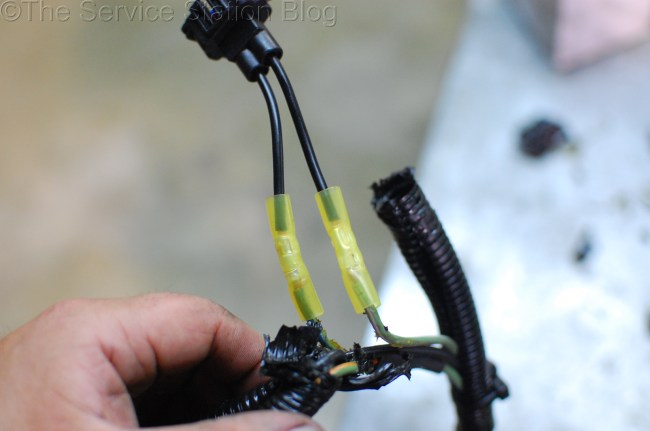
A basic cut, strip, crimp repair was used, and the kit included the connectors.
Because this repair will be in the front of the engine compartment, it will be exposed to extreme heat and lots of moisture from rain and such, necessitating the use of weatherproof connectors. These are a bit more expensive than the cheaper plastic crimp connectors, but I pretty much always use them, even for interior work because they seal the joint and don’t allow corrosion to wreck the connection. Corrosion increases resistance, which decreases voltage and increases amperage draw, which increases heat, all of which are bad in an electrical system. Notice how there appears to be a little glue oozing from the end of the connector. When you use these type of connectors, use a heat gun moving back and forth so as not to apply too much heat in any one spot, and make sure all the air bubbles disappear and the sealant oozes out just a bit as shown above.
With the splicing completed, all that was left was to tape up the sheathing (black wire armor) that I opened up and make sure it looked decent and install it back in the car. Once it was installed, I used my scanner to command the fans on low and high speeds and they performed beautifully. No more overheating and the fans only come on high when they actually need to. Another happy customer from the shop of Crown Trades and Technology!

Stagger your crimps
LikeLike
That’s a good tip Dave. If you stagger the crimps it’ll keep the bundle from being so large. Thanks for pointing that out!
LikeLike