Really? An oil change? Sure! It’s probably where most mechanics start, and maybe where YOU got YOUR start. Changing the oil in a vehicle is pretty simple and basic, but I think it’s wise to develop a system and follow it for every oil change you do to make sure you don’t forget something. There are few things as sickening as starting the engine and waiting for the oil light to go off and glancing over to see 4 or 5 quarts of unopened oil on your workbench.
First, warm up the engine. You may be thinking, “I don’t want to get the oil lava-of-Mordor hot right before I change it!” While it may be a bit unpleasant if you get some on you, warm oil flows better and drains more quickly. More importantly, though, warm oil suspends contaminants better than cool, static oil. After all, you’re changing your dirty oil to clean all the gunk out of your engine right?
Once the engine is warm, you can get down to business and raise the vehicle. I’m blessed enough to have a lift where I work, but most of you probably won’t. To hoist the vehicle you have two popular options: ramps or jack stands. BTW, NEVER support a vehicle with only a hydraulic jack and crawl under it! Yes, I’ve done it…more times than I care to admit, but it’s terribly unsafe and stupid!
To use ramps (like these), place them directly in front of your front wheels making sure they’re directly in line with the car. Drive up slowly and stop when you are completely on the pad at the top of the ramps. Tip: If you are using a 4×4, shift into “4-LO” to make things a bit easier.
To use jack stands (like these), jack up your car by the manufacturer specified lifting points and place the jack stands under the sub frame on a compact unibody car or the frame of a larger vehicle or truck.
With the vehicle safely supported, pop the hood and do a quick visual inspection.
The vehicle used in this demo is a 2001 Ford E350 with a 5.4L V8.

I like to begin the inspection by slightly pulling out the dipstick and removing the caps of the fluids I will be checking.
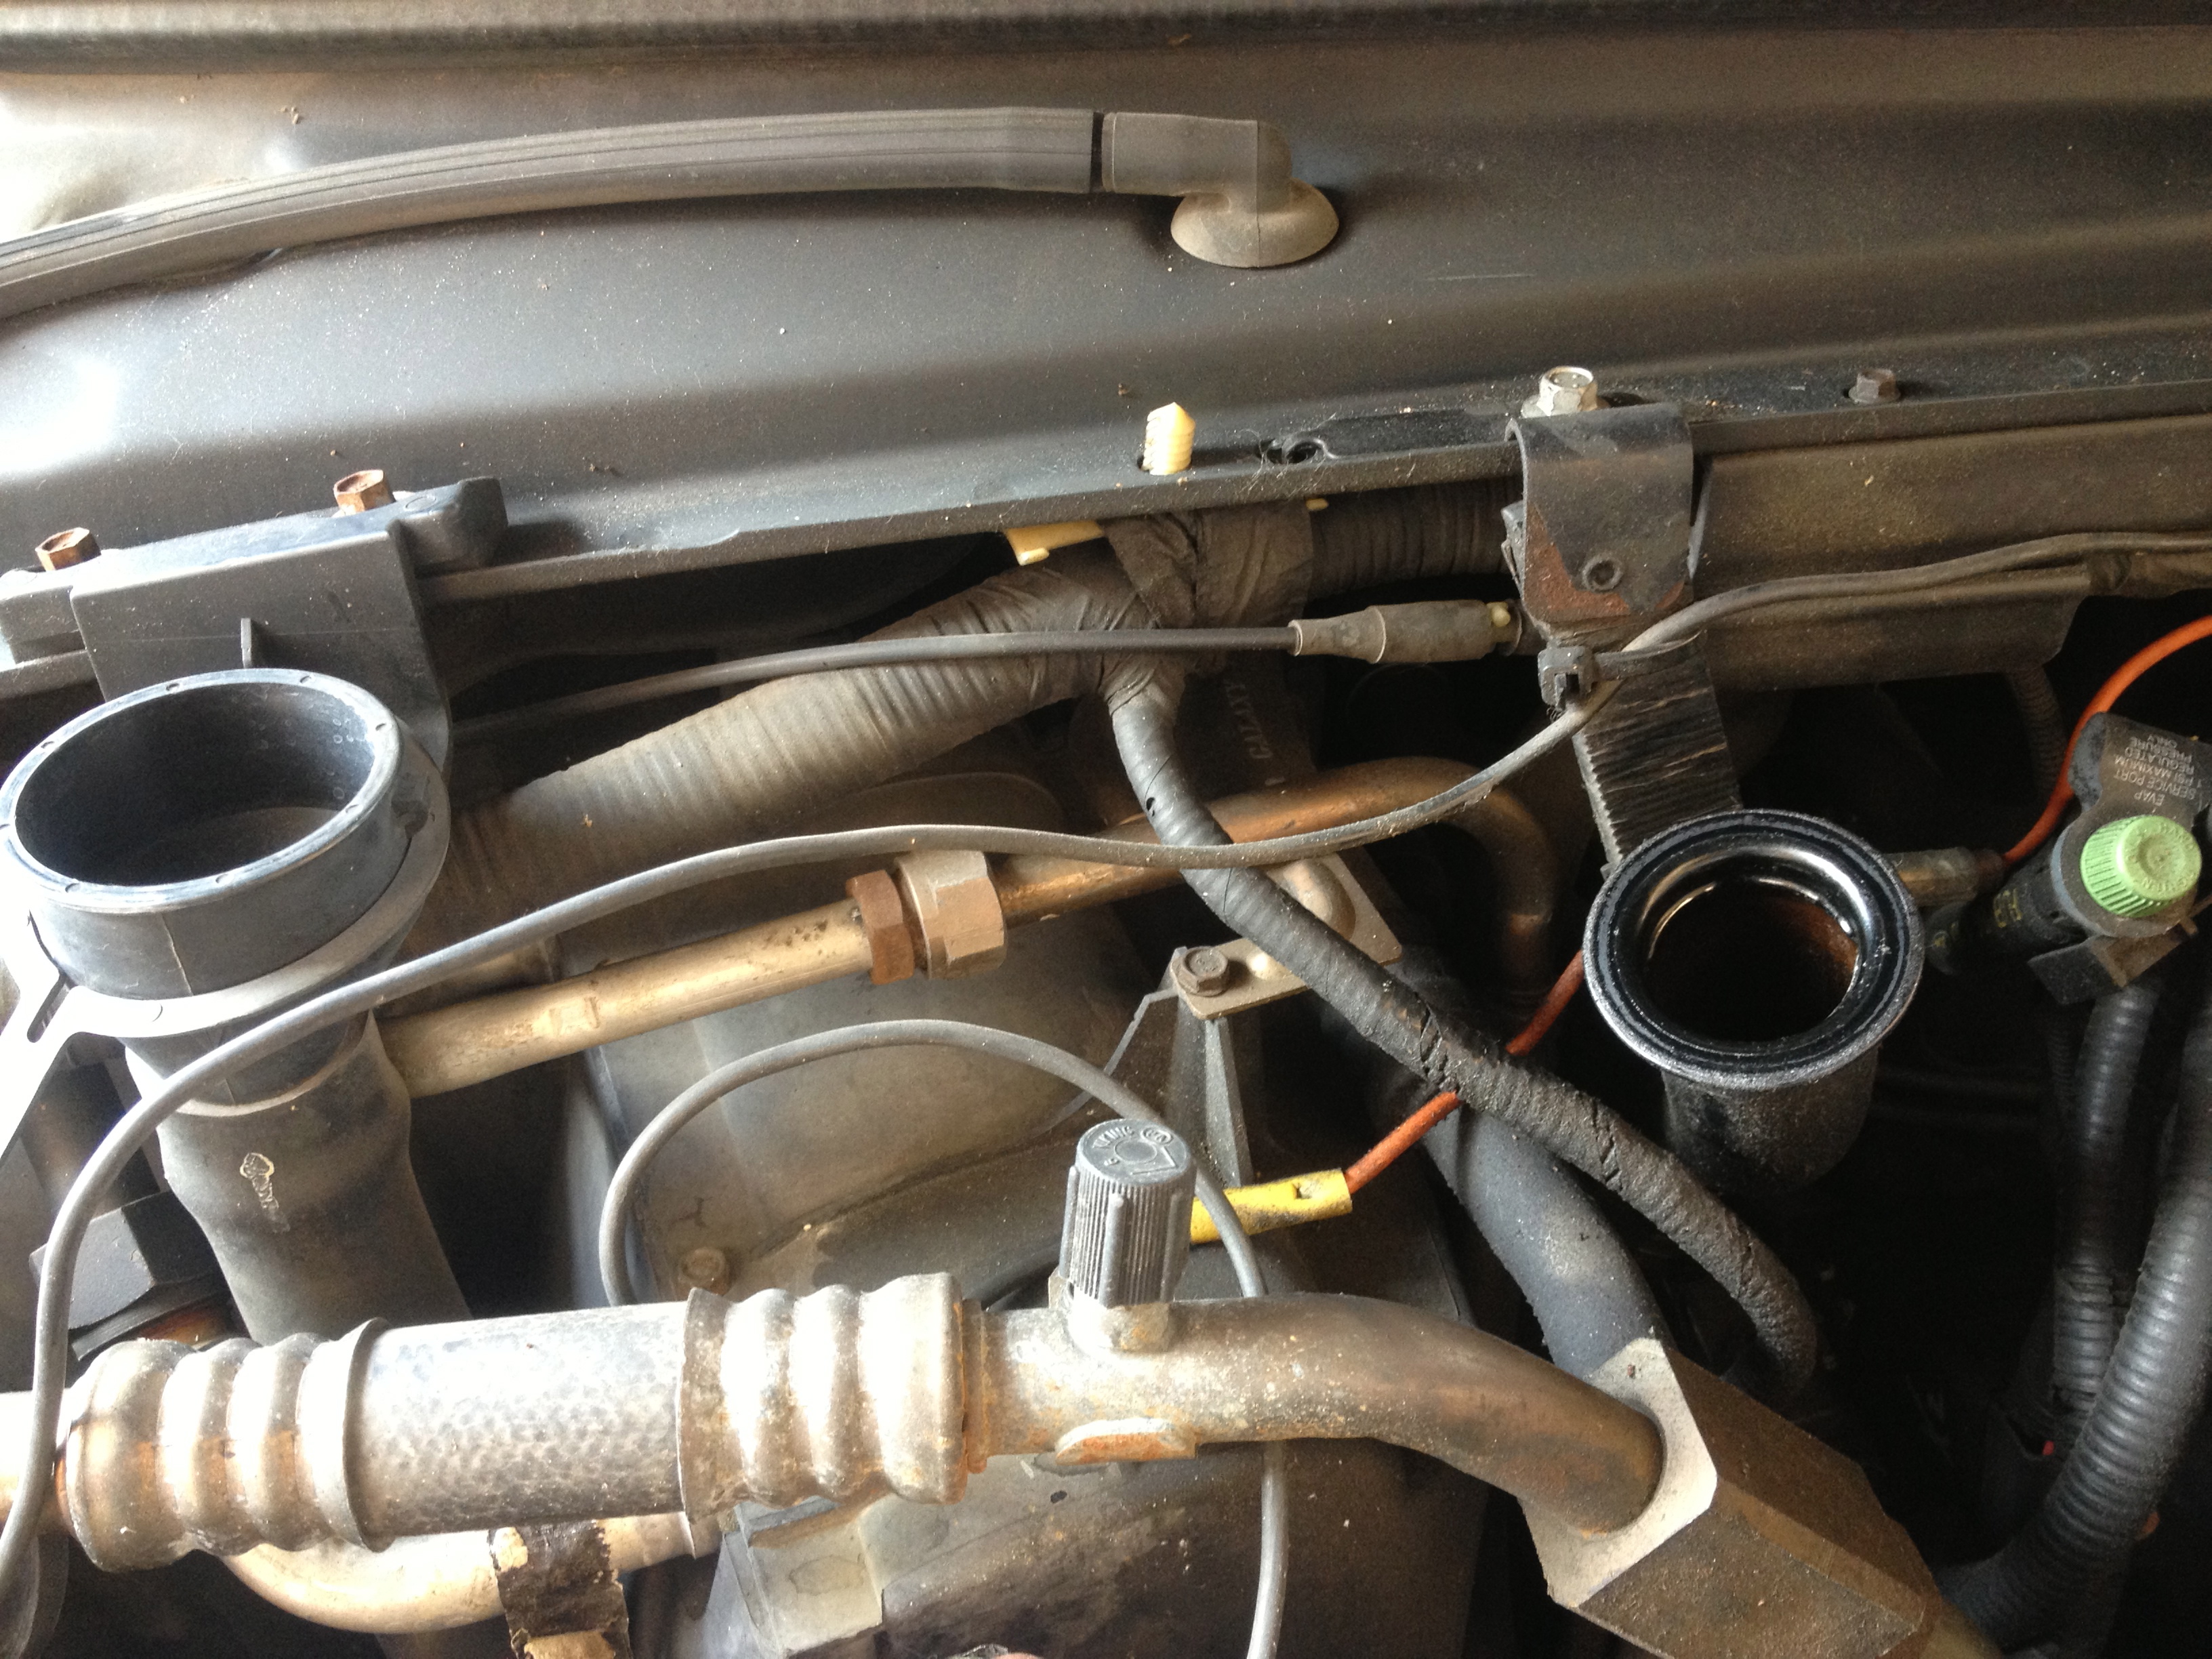
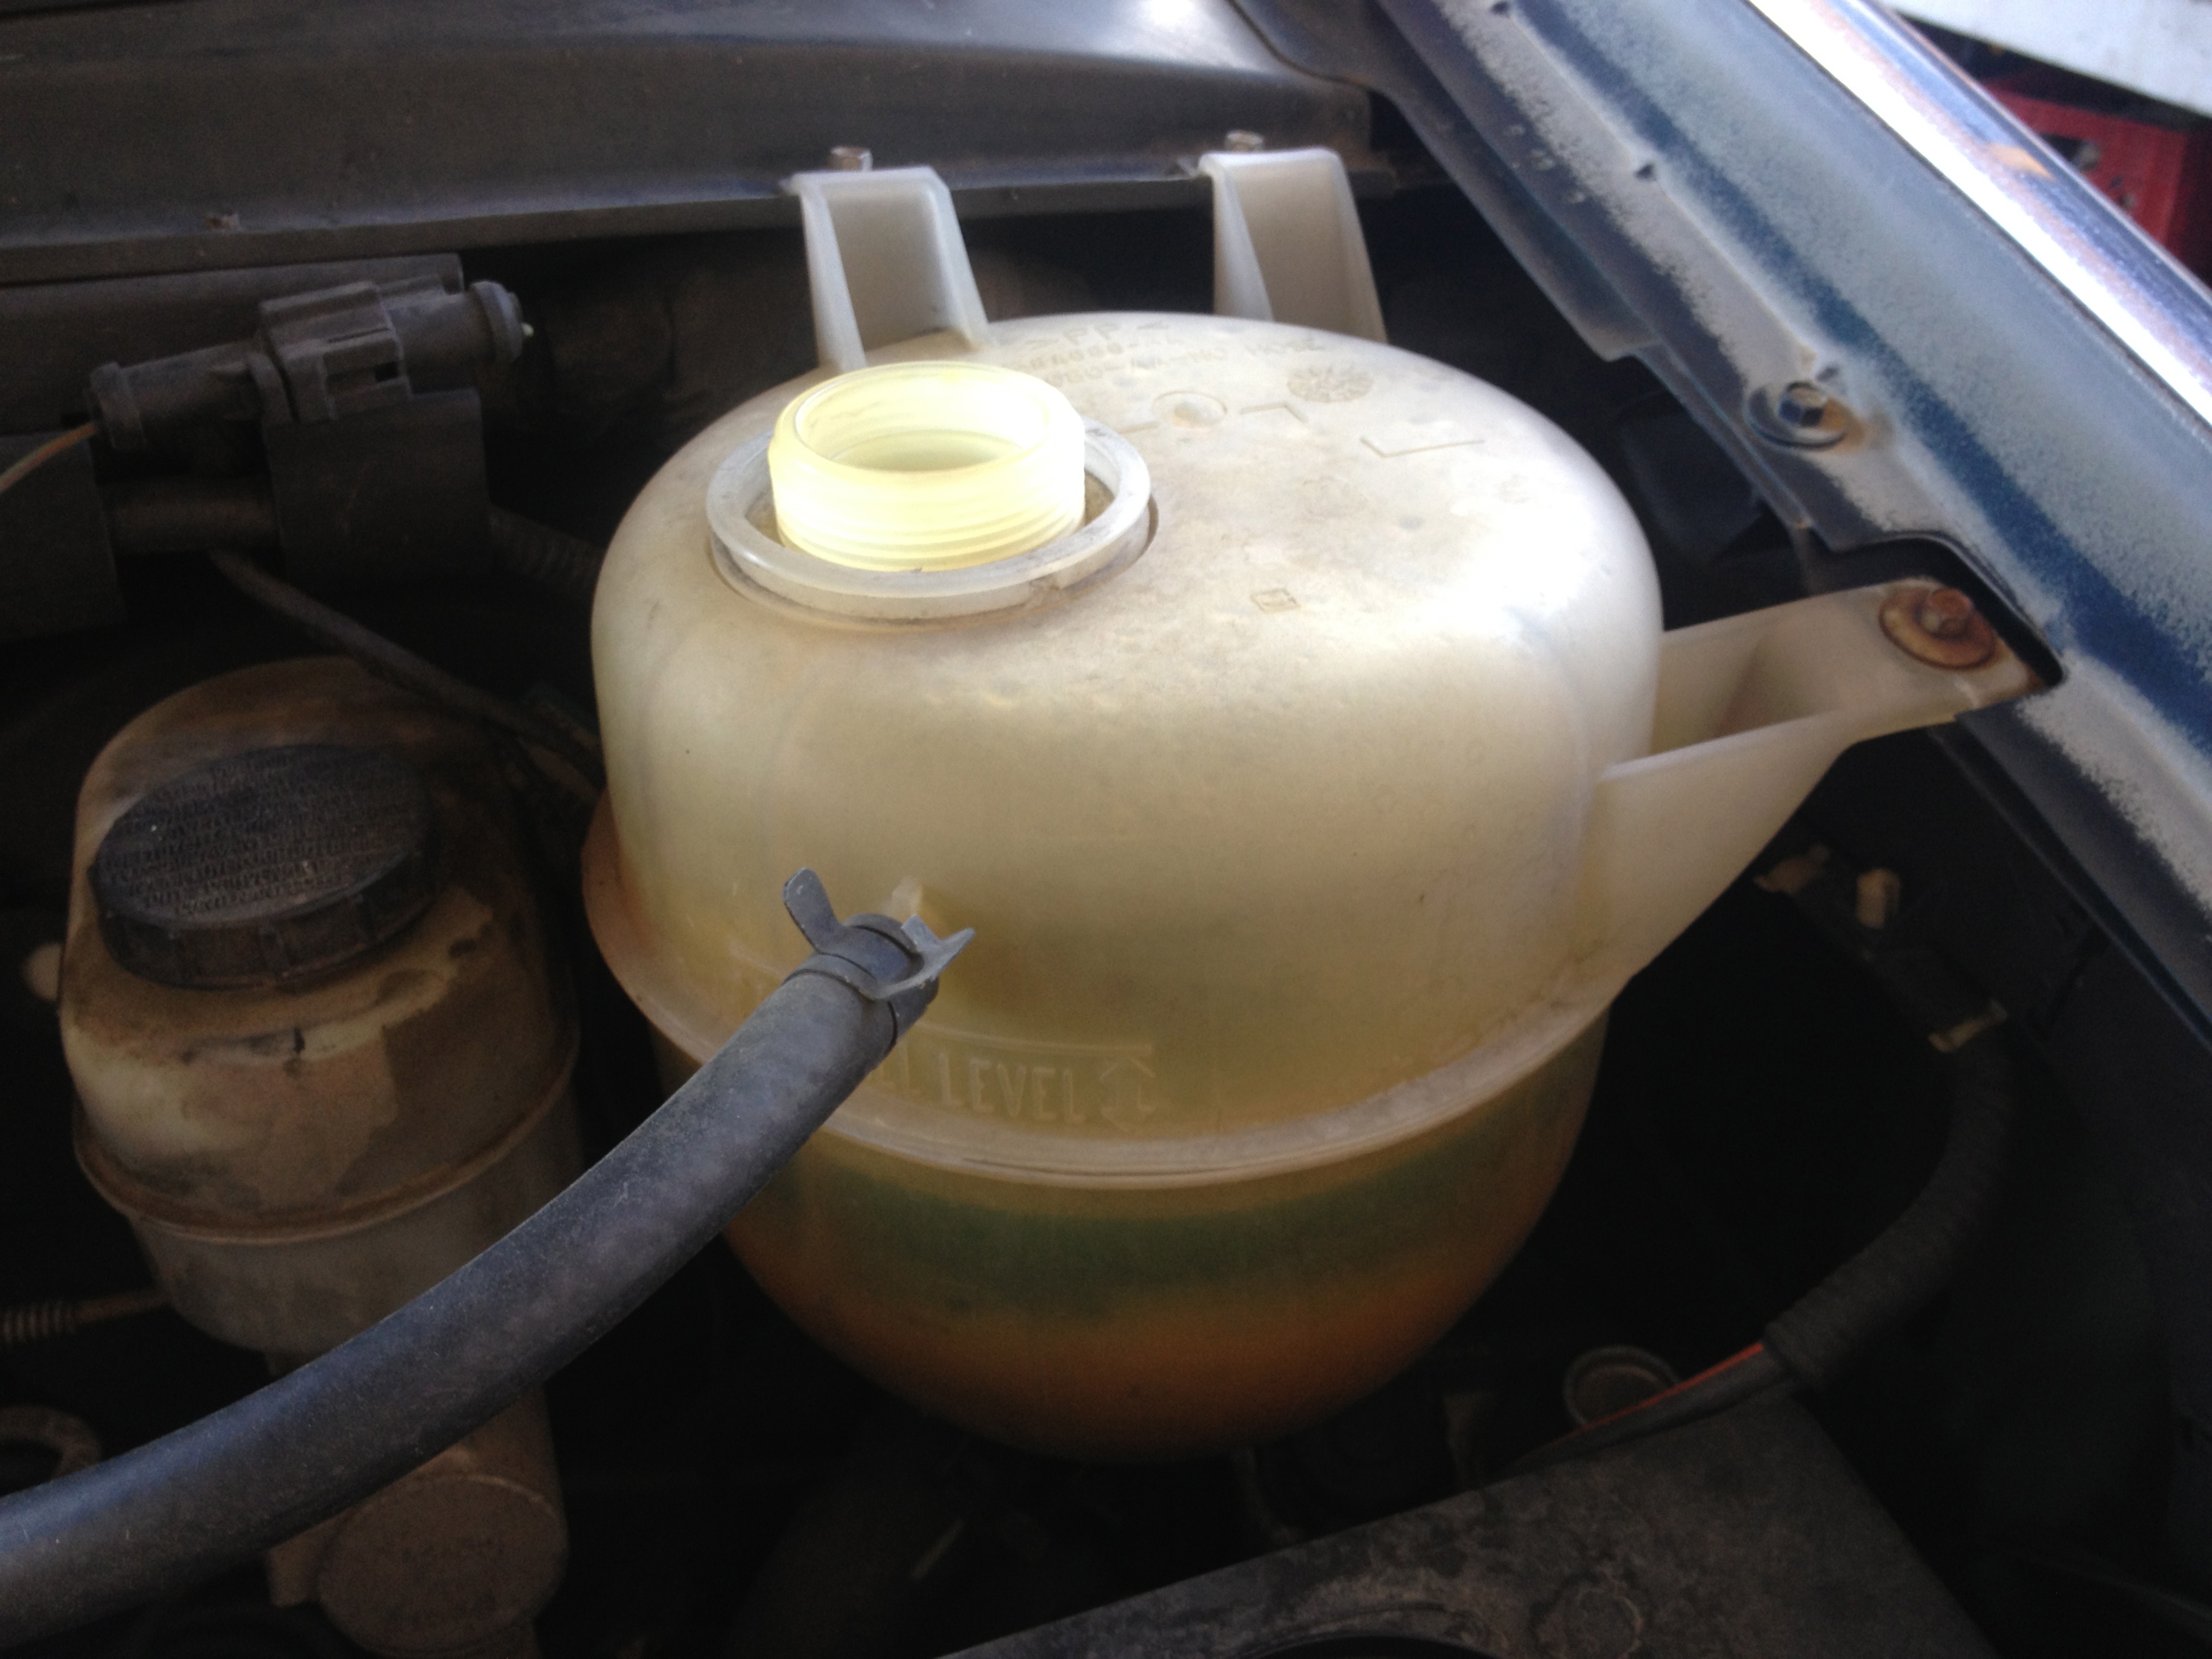
After I top off the fluids, I replace the caps and move on with the inspection. Quick note: I always leave the oil cap off and the dipstick out until I actually fill the engine with oil. I can’t tell you how many times I’ve been interrupted while I was working and almost forgot to tighten something or fill something with fluid.
Time to inspect the belt(s) (serpentine or v-belt) and air filter. Check out this post for belt inspection and this one for air filter inspection.
When everything under the hood is inspected, it’s time to move underneath!
Now, I have this van on a lift so it’s easier for me to find and get to things. Sometimes when you’re lying on your back on a piece of cardboard or a creeper and reaching above your head while wrapping your arm/hand around that stupid CV axle to get to the filter, it can be confusing which way is tighten and which way is loosen. Remember, lefty loosey, righty tighty.
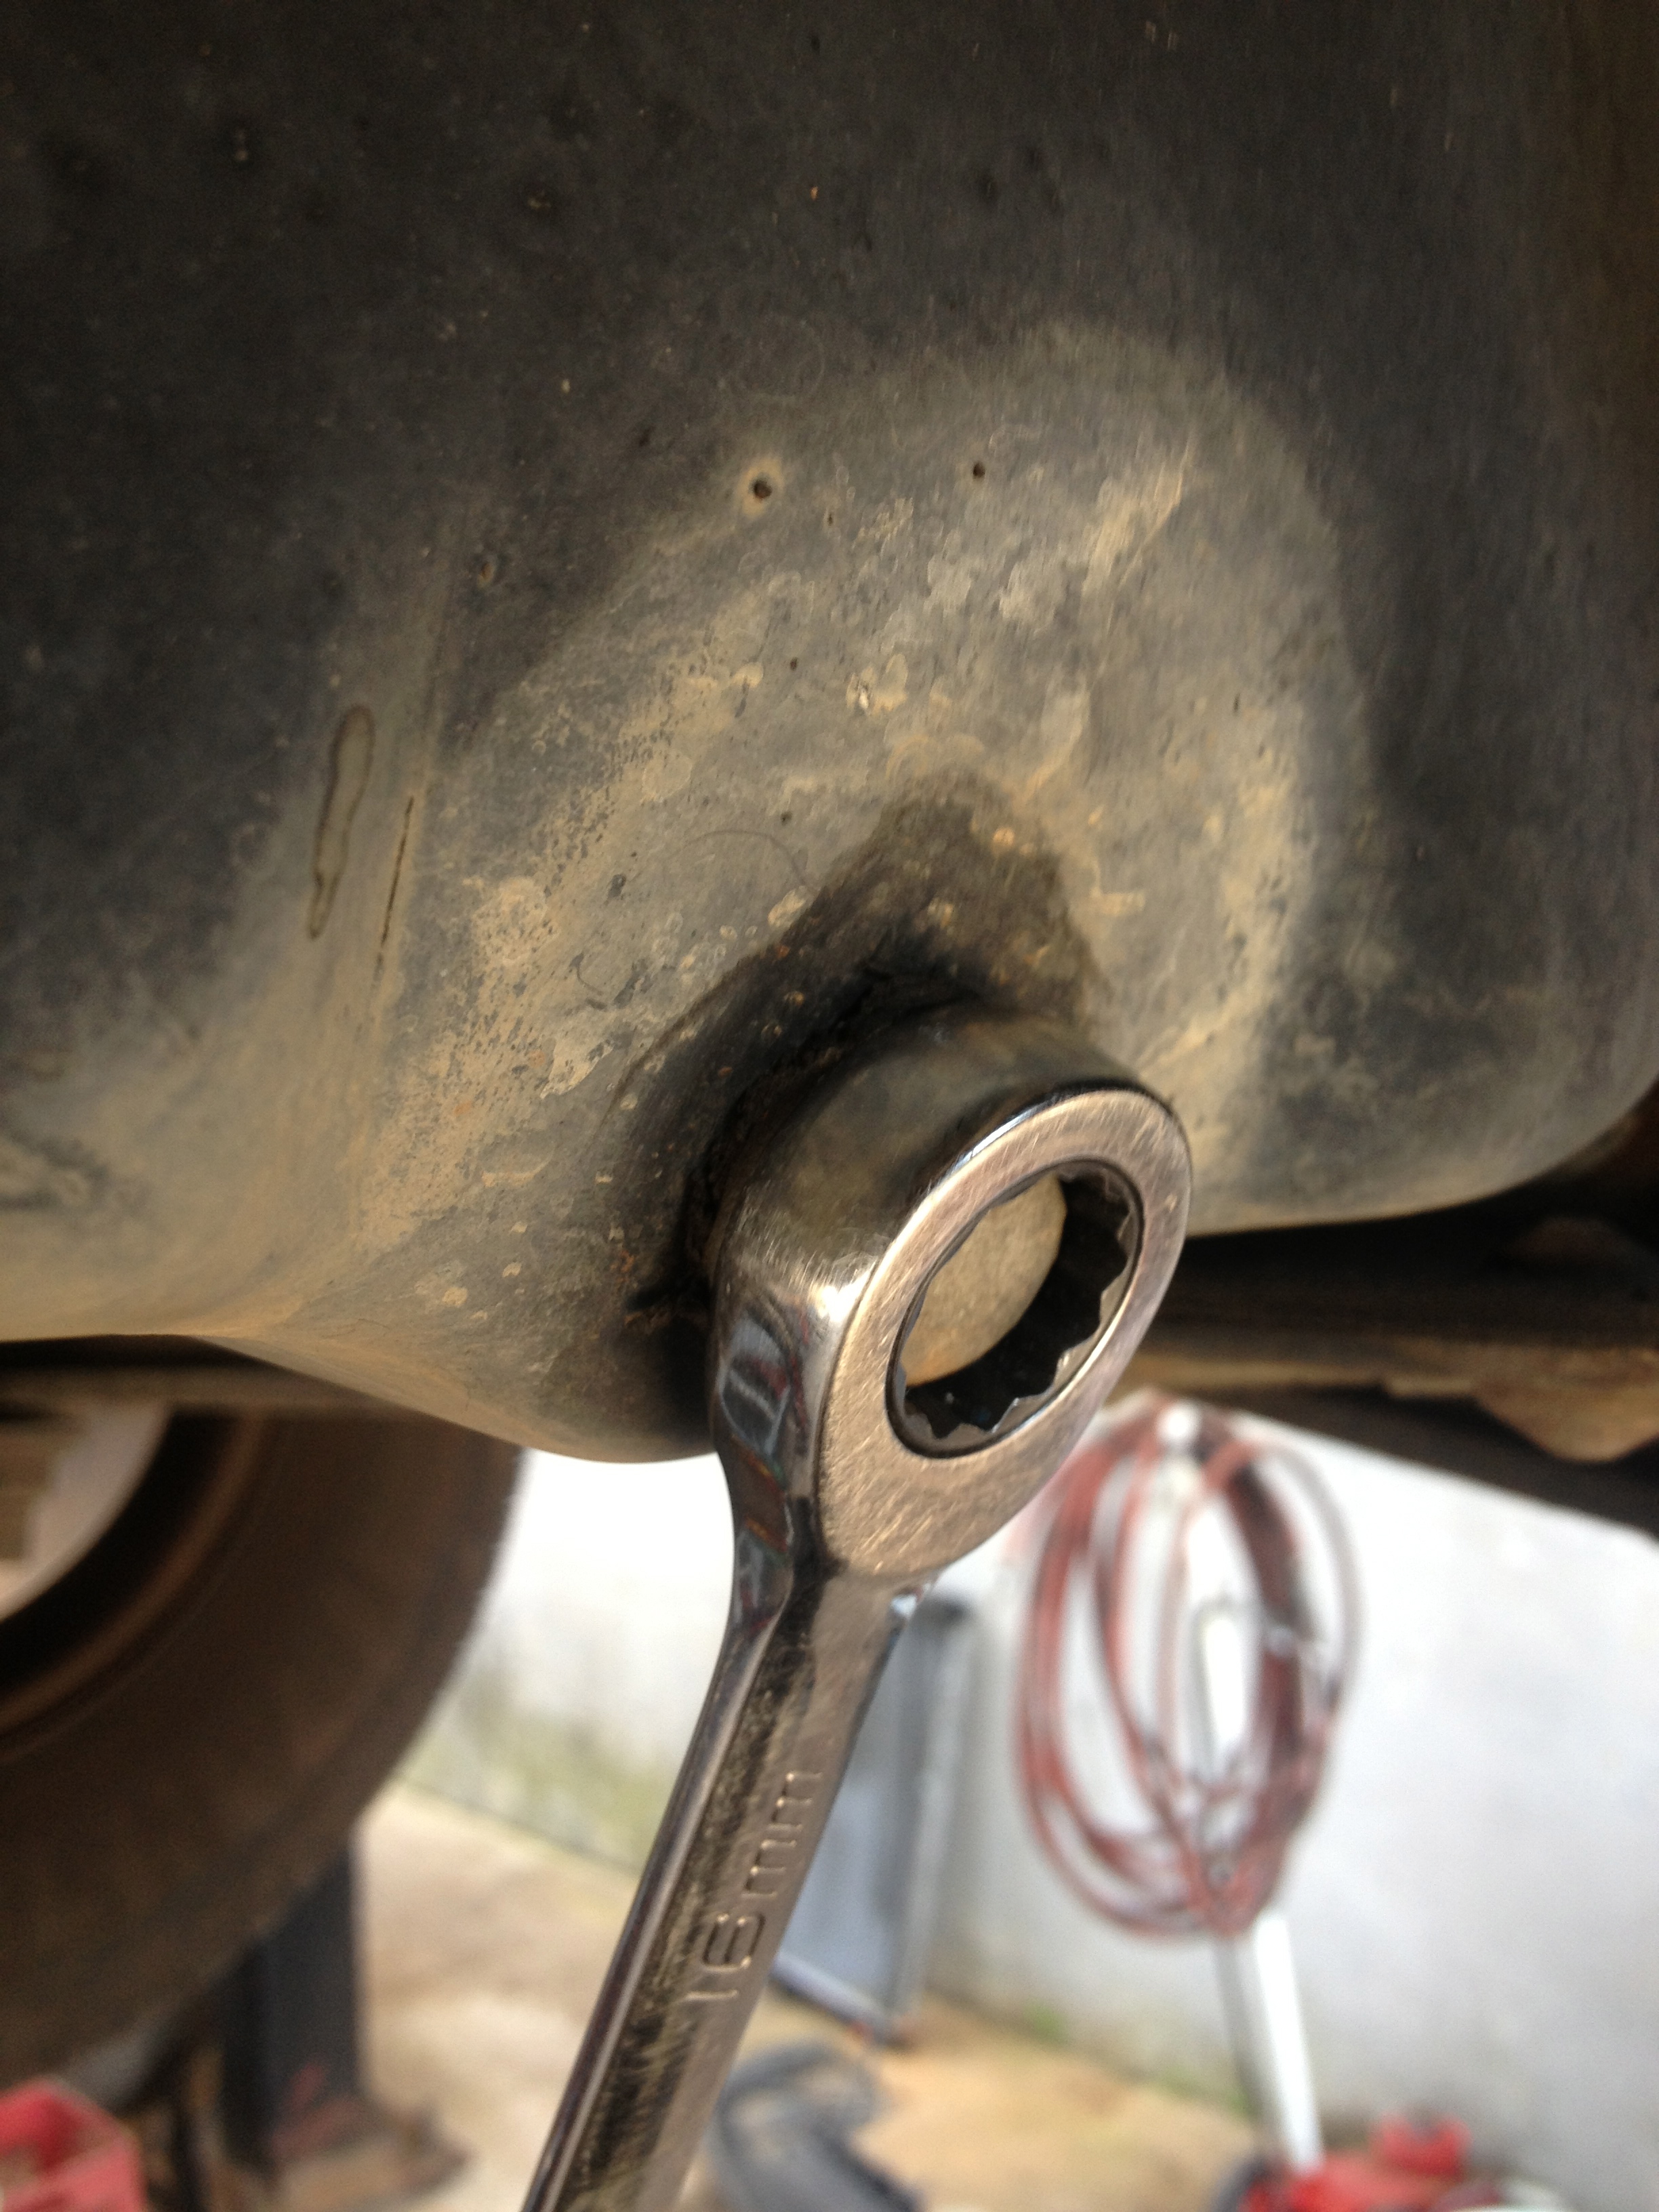
First, loosen and remove the drain plug (make sure it’s the engine oil pan and not the transmission pan!) and drain the oil into a drain pan.
While you’re draining the oil, find the oil filter and loosen it. Again, make sure you remove the right filter. There aren’t many cars with spin-on transmission filters, but there are a few, Saturns being among them. If the fluid is black, it’s probably oil. If it’s reddish brown, it’s probably transmission fluid.
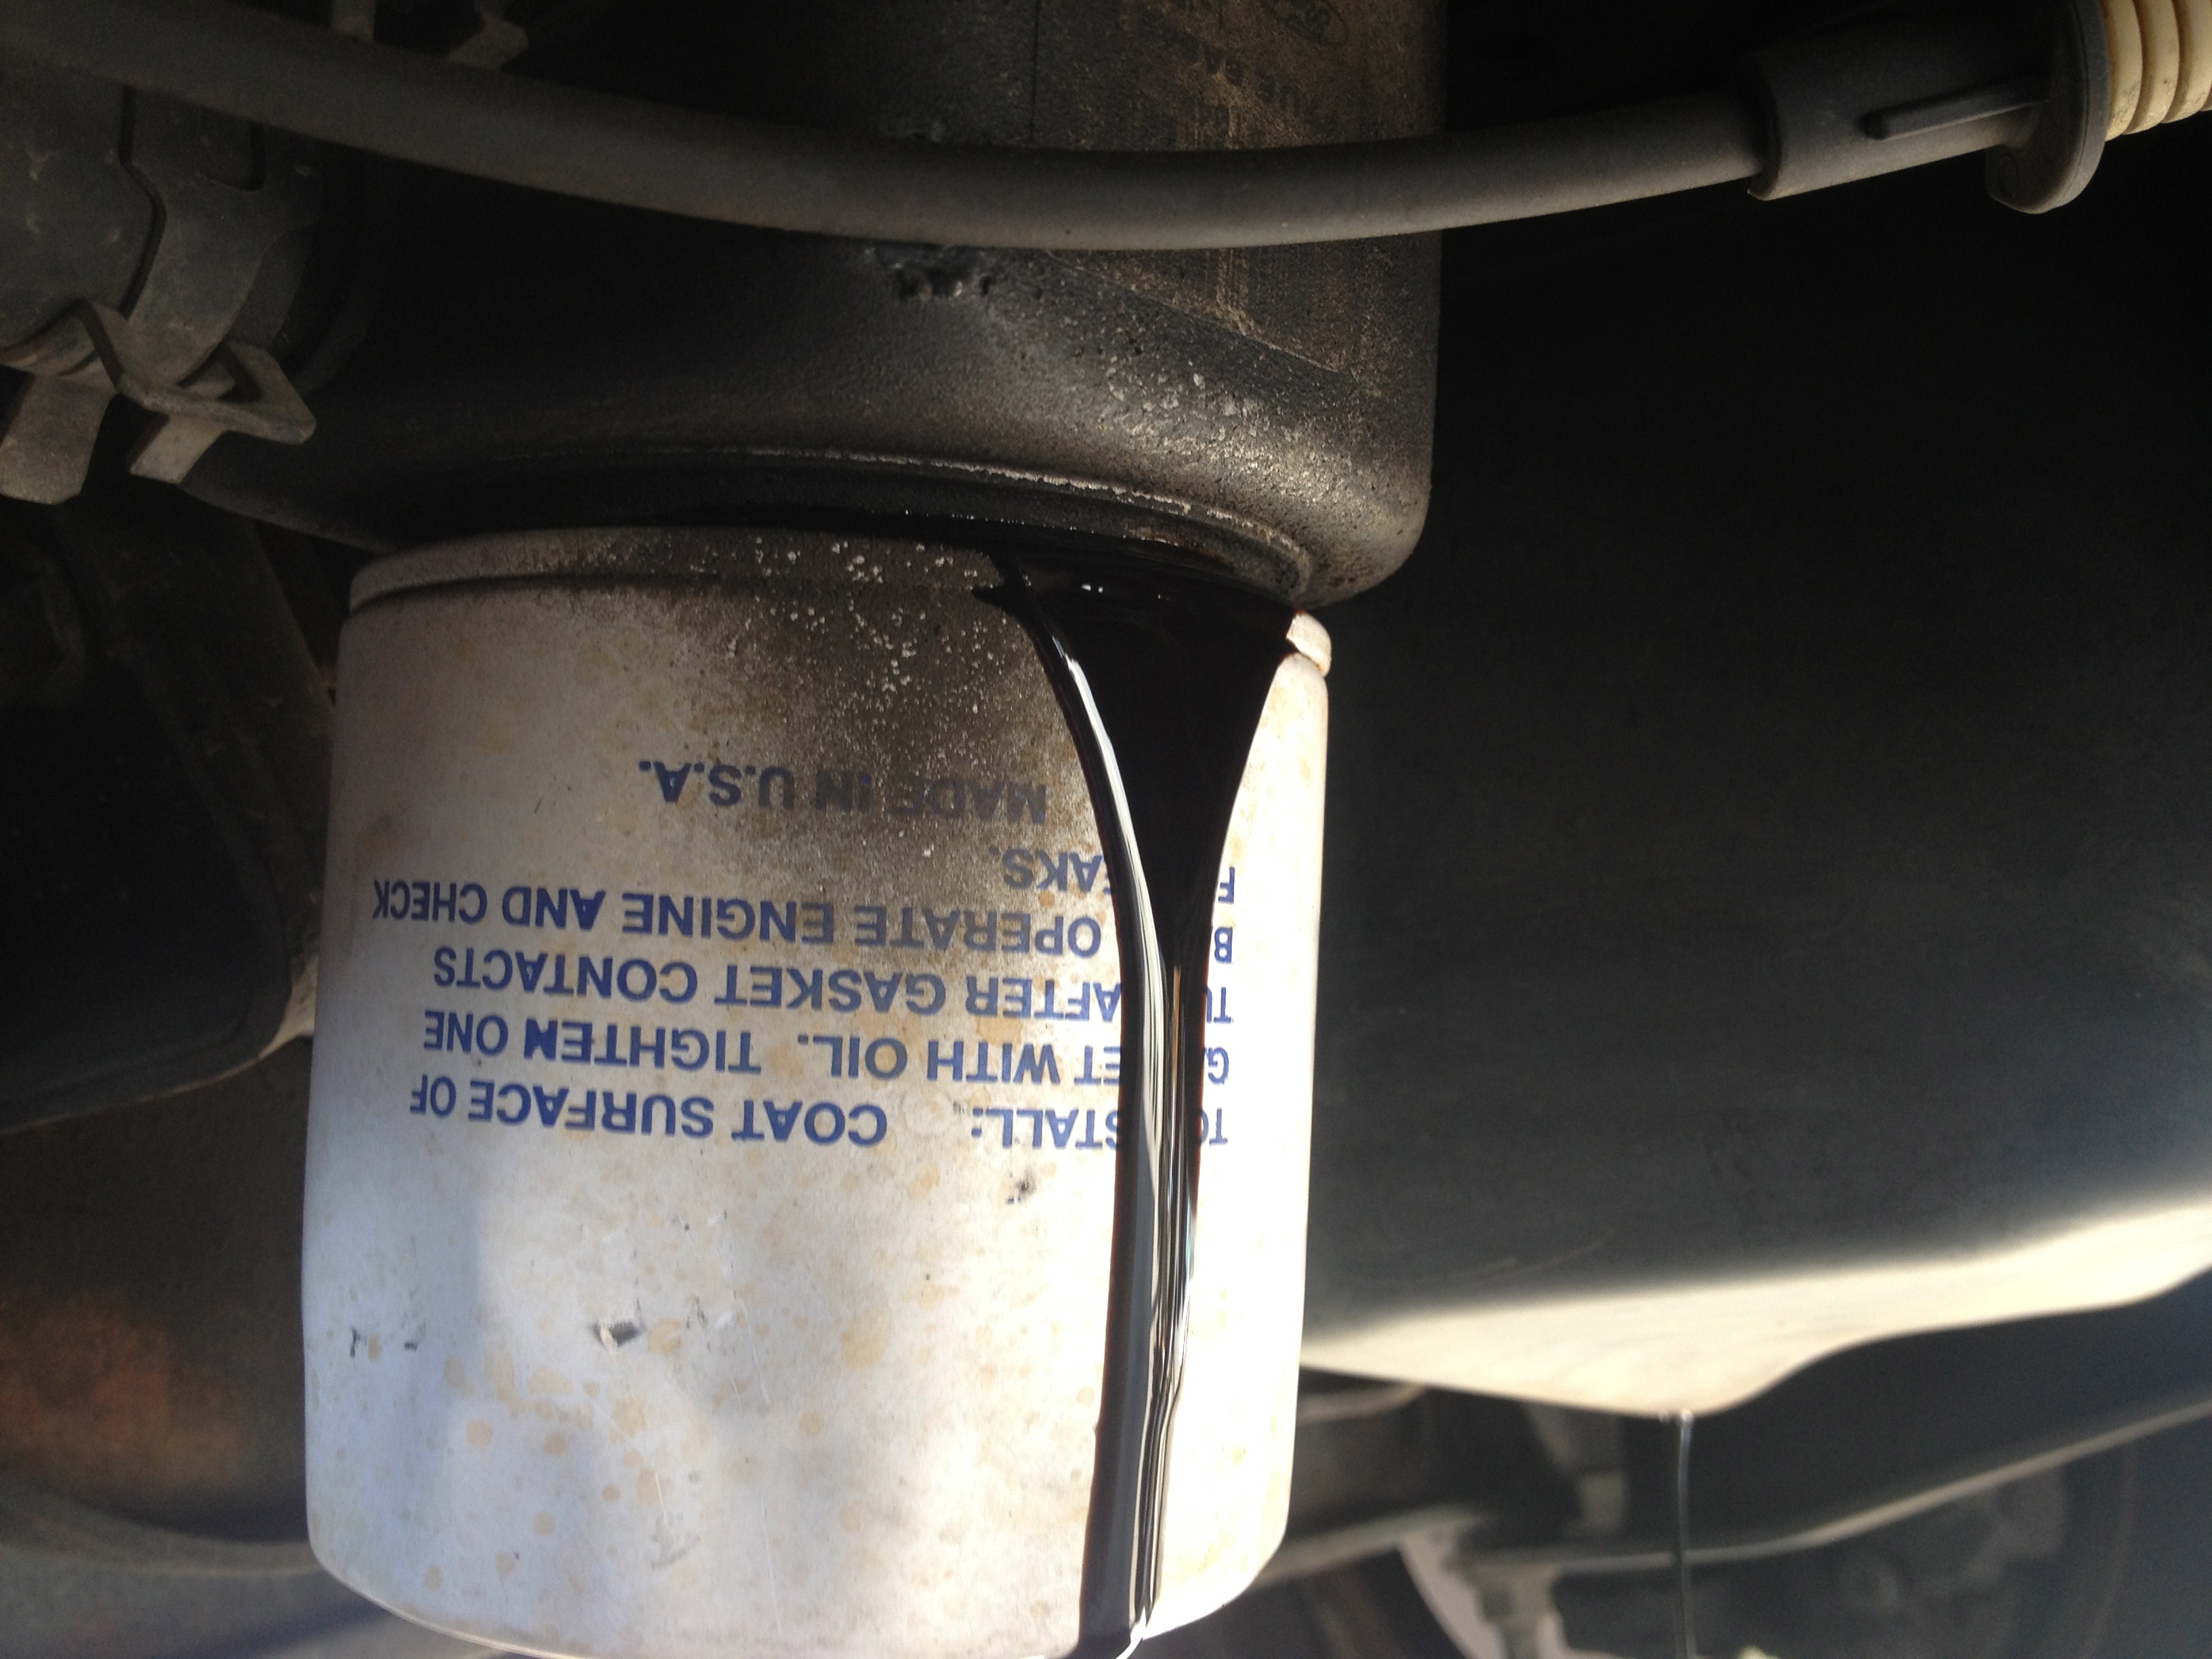
Be careful as oil will probably begin to run down the side of the filter (and down your arm if you keep holding on to it!). Remove the old filter and set it aside do drain in your drain pan. Make sure the old o-ring gasket comes off with the old filter. Sometimes, if the previous tech didn’t coat the gasket with fresh oil, the old gasket will stick to the engine. When two o-rings end up between the oil filter and the engine, the gaskets distort and oil spews everywhere!

Take the new filter and apply clean motor oil to the o-ring gasket.
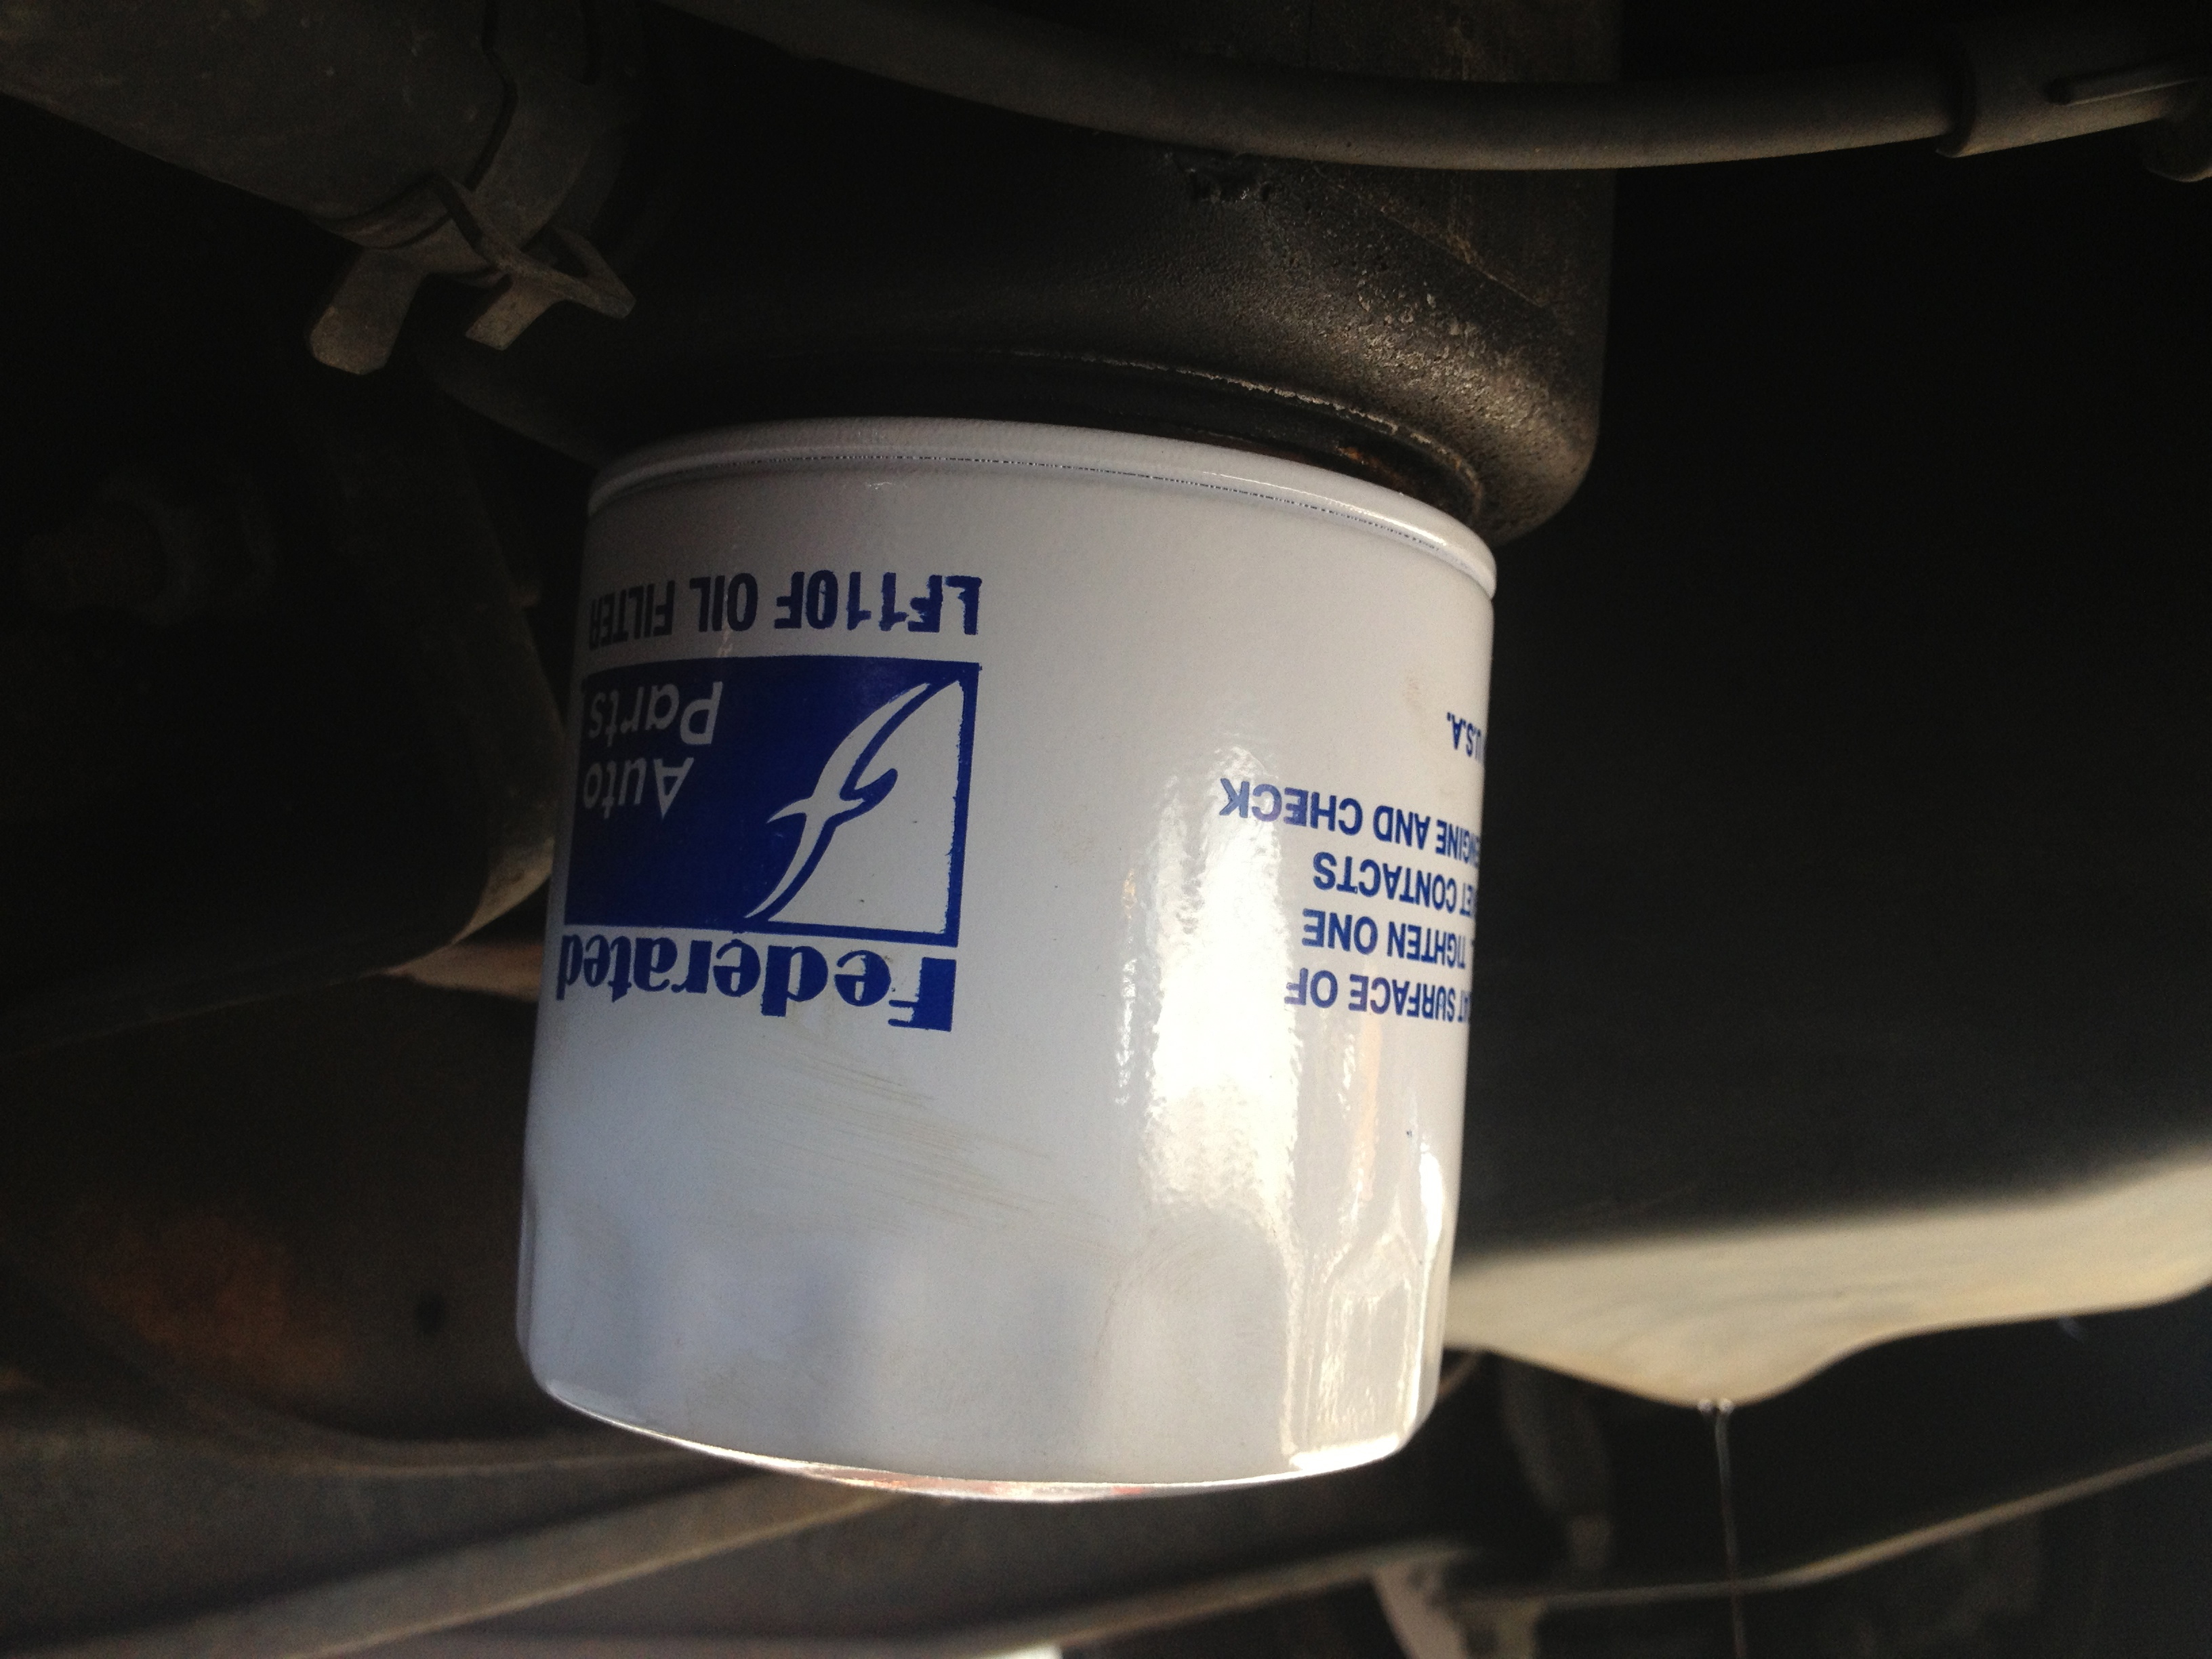
Spin the new filter on the engine until the gasket just touches the engine, then spin it another 1/2-3/4 turn. Guys, this is not the time to show off your He-Man strength! Two things could happen if you over tighten the filter: One, the gasket distorts and spews oil all over the place like a double-gasket scenario, or Two, the filter is dog gone near impossible to get off next time! The gasket is designed to be compressed by that 1/2 turn or so enough to take up the slack of expansion and contraction as the engine warms up and cools down, so tightening more won’t make it seal any better.
Once the new filter is in, reinstall the drain plug (use a new washer if you need one), and grease any fittings under the car. Most modern cars don’t have any grease fittings and don’t require any lubrication after they’re installed. However, this is a 1-ton van and does have several grease fittings.
I like to use a really nice cordless grease gun like this one by Lincoln
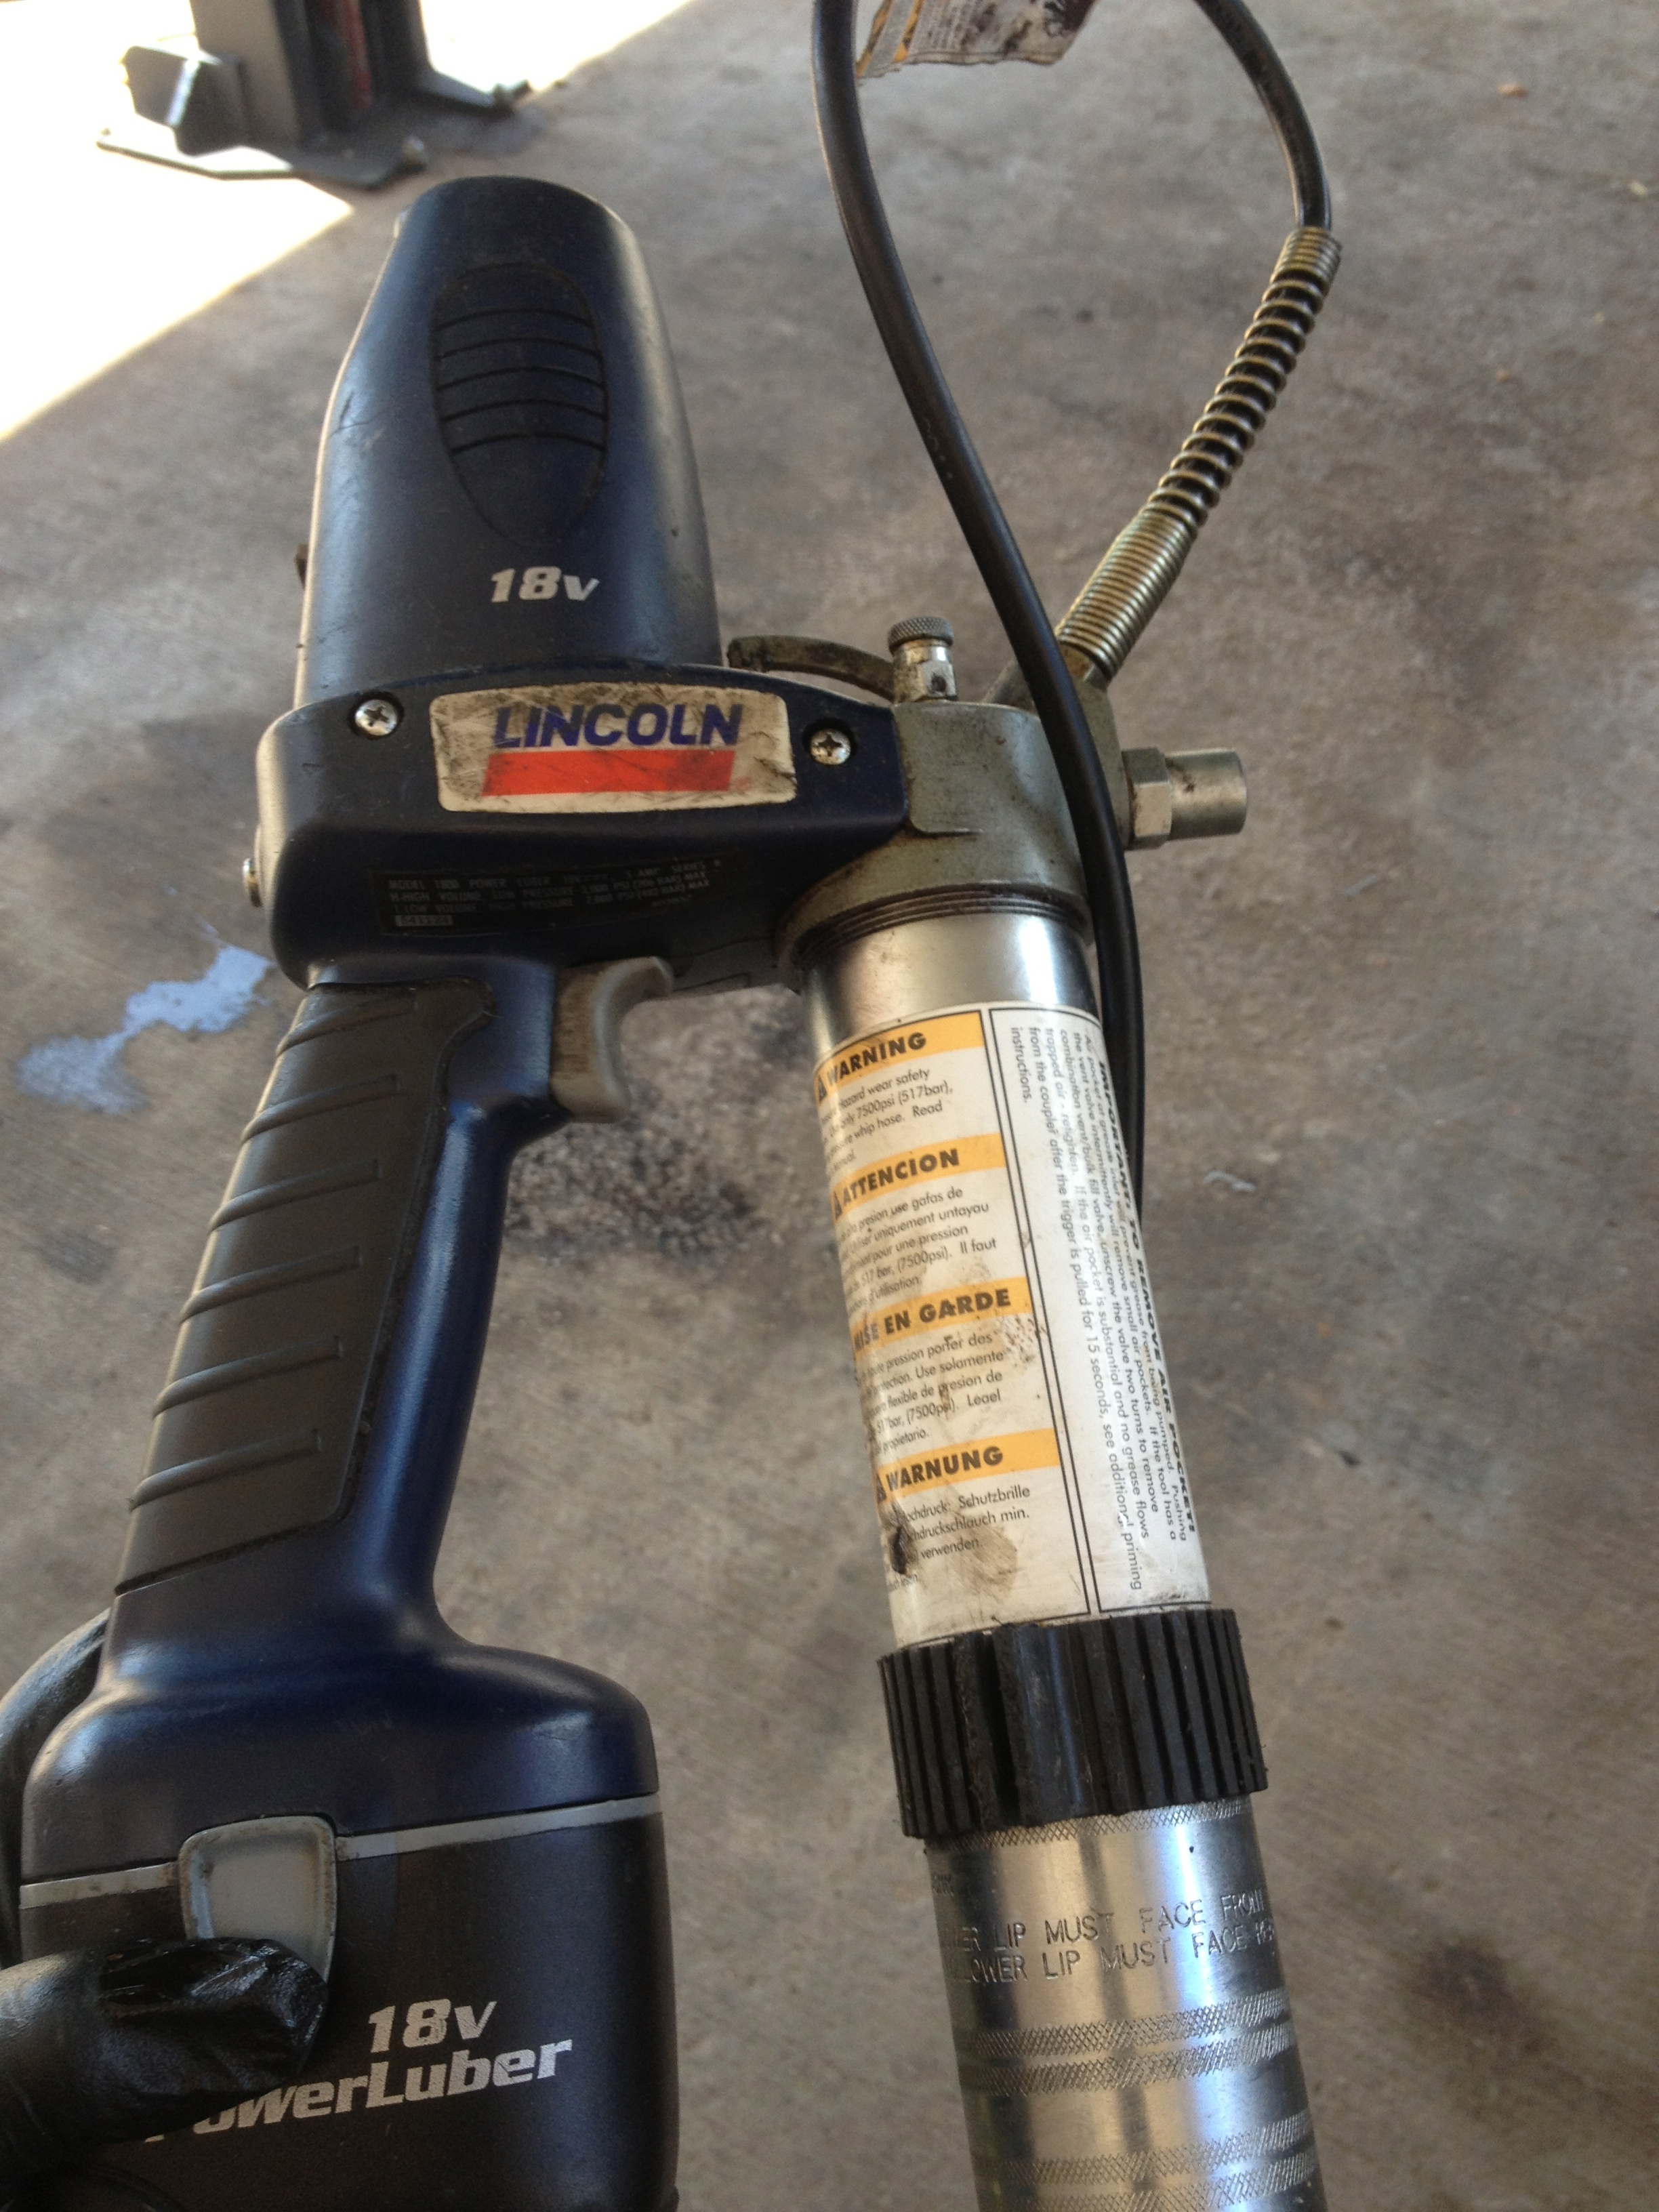
To see how you should grease these joints stay tuned for a post regarding chassis lubrication.
When you’re all done underneath the car, wipe off any oil drips and take a gander at everything under there to see if you can spot any leaks or anything else needing attention like torn CV boots, cracked/worn bushings, etc.
Move back up top, fill the engine with the correct oil type and weight, put the oil cap on and start the engine. Let it run for about 5-10 seconds and shut it off. It’s best to wait a minute or so to let the oil drain to the bottom of the engine to get an accurate reading on the dipstick. Take one last look over the engine compartment to make sure all fluids are full and all the caps are on tightly. Make sure the oil is at the proper level and you’re done!!
Whew! Who thought a simple oil change could be so involved?
Oil changes are simple in essence, but they can quickly become complicated and cause MAJOR damage (to your engine and to your wallet!) if you forget a step or get distracted.
I hope this helps someone! Whether you use this guide to change your own oil for the first time or you found one tiny thing that will help you next time you change your oil, let me know in the comment section!

Love the blog, Garan! I’ve heard conflicting advice concerning whether vehicles need to be level to properly drain the oil or whether it is acceptable to use ramps for easier access as you mentioned here. Would you mind sharing your thoughts on this debate?
LikeLike
Well, the vehicle definitely needs to be level when checking the oil, but when draining it really depends on the location of the drain plug. If the drain plug is located on the back side of the engine, which it usually is, then it is actually beneficial to use ramps as the entire engine will be tilted toward the drain plug, allowing as much oil as possible to drain from the engine. Honestly, though, the angle really doesn’t matter that much because when you change your oil, there is still a certain amount left in the engine anyway. Some of it gets trapped in various little crevices in the engine, particularly the cylinder head, and the rest is still clinging to the metal in the engine, leaving a film. I don’t know the exact percentage, but you aren’t changing 100% of your oil, so the minute amount left in the bottom of the pan because of the angle of the vehicle is insignificant. Hope that helps!
LikeLike
Hey, Thanks for sharing this informative post. This is really true, it is must to change the lubricant oil of your automobiles at regular interval.
These days various oil companies like kuwaitdanalubes.com are working really hard to produce high class lube oil for their customers.
LikeLike
I like your tip to change the gasket and laughed at your he-man comment. My wife and I are learning to change our own oil lately, and we found this article informative. I think it will help a lot, we’re trying to change my wife’s oil on Saturday. Thanks!
LikeLike
Glad you enjoyed it! Hope all goes well this weekend….what kind of vehicle are you working on?
LikeLike